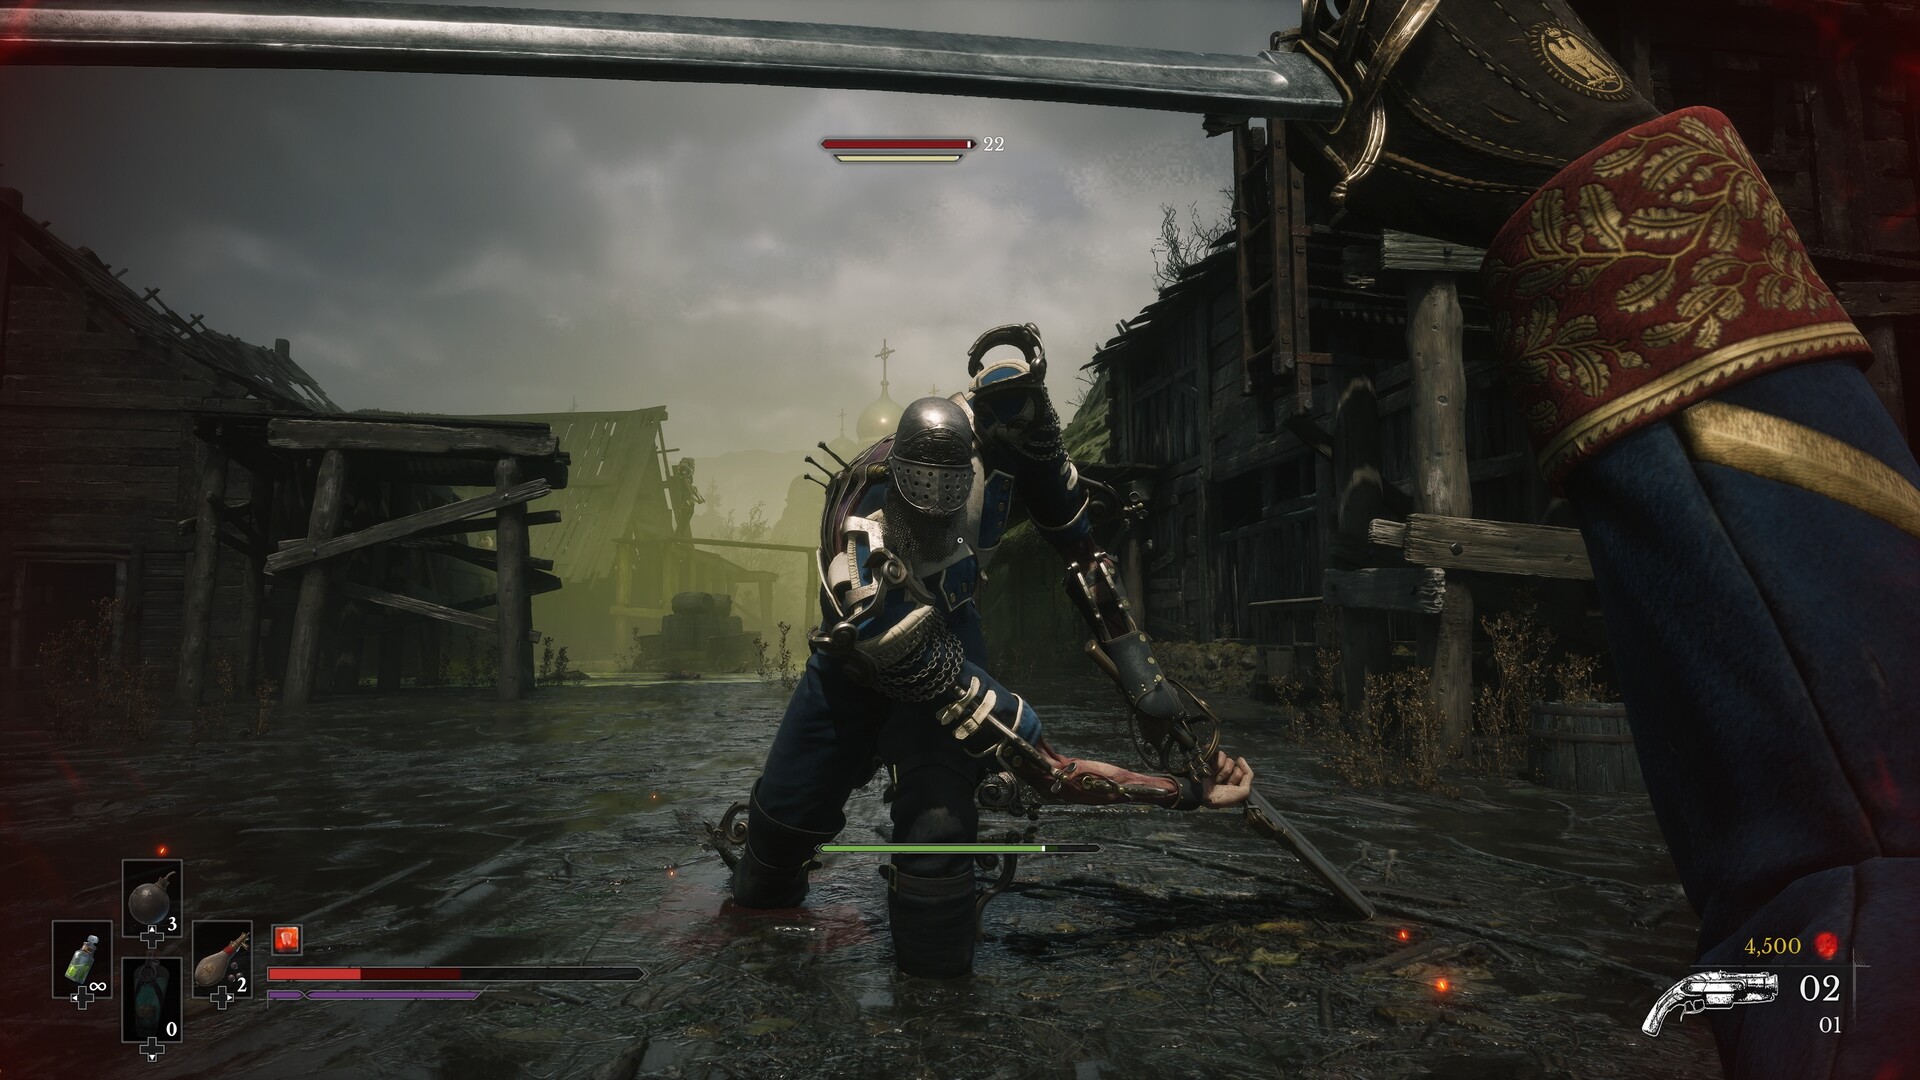
How to complete Regroup
Complete Chapter 2: Regroup by crossing the Valley of Ashes, collecting the Pistol at the bridge and defeating the chapter boss to unlock Lantern fast travel. Finish An Unheard Farewell along the way, and return later for the Quarry grapple route and the deeper poison area.
Equipment and Lantern landmarks
Keep Fire Transmutation ready for gold vines; you obtain it during Revival. The Pistol is the mandatory equipment pickup ahead, while the Emissary’s Seal, Mysterious Stone Pyramid and Lucien Lafontaine’s Emblem belong to side quests.
Your Lantern landmarks are Guidepost, Demolished Path, The Climb, The Other Side, Military Camp and Quarry. Their names become visible in the fast-travel menu after the chapter boss. Use Lanterns to equip Ambers and apply Ferrofluid upgrades, remembering that resting also revives ordinary enemies.
Guidepost: Gather supplies and reach the bridge
- Open the chest behind the breakable boxes and enemy beside the cliffside wooden platform. Find this dead end on the right-hand path after the large tipped wagon; it contains a Ferrofluid Flask Power Upgrade.
- Open the chest on the left immediately after the first Grenadier, before entering the next metal carriage. This gives you Indestructible Shell.
- Agree to help the man speaking through the carriage window in the open area beyond the Grenadier. This starts An Unheard Farewell.
- Pick up the Pistol inside the train car on the left during the bridge platforming section. Taking it is required to continue.
- Open the chest left of The Climb Lantern after crossing the bridge section. It holds an Empty Ferrofluid Flask for increasing your healing uses.
The Climb: Finish An Unheard Farewell
- Climb the ladder out of the cave beyond the lift. Reaching its top automatically advances An Unheard Farewell.
- Shoot the Nephtoglobin spots at the second lift-release location farther up the cliff. This frees the lift for the return descent.
- Jump from the moving lift onto the central platform. The gold-vine wall is opposite the path you originally followed.
- Burn the gold vines opposite your original route. This opens the side area containing the miniboss and the commanding officers’ letter.
- Defeat the miniboss beyond the burned vines to clear the area around the quest letter.
- Pick up the letter addressed to the commanding officers of the line infantry. This is the document to bring back to the adjutant.
- Kick down the ladder at the top of the area to open the shortcut back toward the adjutant’s carriage.
- Tell the adjutant that his soldiers died. Completing the conversation awards Sleight of Hand and the Aggressive Reconnaissance achievement.
- Rest at the nearby Lantern after telling the truth. An Epic Catalyst Clot then becomes available near the carriage.
Demolished Path: Start The Oathbound
- Defeat the Eternal Guardsman reached by following the plague-vine path down from the shortcut ladder and taking the left branch behind the enemy group. You receive a Mysterious Stone Pyramid and Lucien Lafontaine’s Emblem, starting The Oathbound.
- Open the chest behind where the Guardsman stood to collect Perfectionism. Keep the quest items for the Oathbound encounters in later regions.
The Other Side, Military Camp and Quarry
- Pick up the Emissary’s Seal from the table inside the carriage partway into the poison area left of The Other Side Lantern. This begins The Emissary.
- Open the chest inside the corner tent left of the hill through Military Camp. It contains Dominatus.
- Burn the gold vines on the right while climbing the hill beyond the camp. This opens the cave detour toward Surplus.
- Shoot the lantern across the cave’s poison to burn the blockage and expose the weak point beyond it.
- Shoot the exposed weak point to make the swing route on the left usable.
- Open the chest on the cliff at the end of the cave’s upward swing route. This awards Surplus.
- Collect Potent Concoction from the chest behind the gold vines opposite the Quarry shortcut ladder. Find the ladder to the right after climbing the early wooden platforms and dropping onto the ledge.
- Open the chest in the enemy’s tower after the first Quarry zipline. Its approach is left of the uphill route, behind breakable boxes at the platform edge; the reward is Marksman’s Bane.
What the route’s Ambers do
| Amber | Effect |
|---|---|
| Indestructible Shell | Reduces damage taken from explosions. |
| Sleight of Hand | Speeds up firearm reloads and weapon switching. |
| Perfectionism | Increases melee damage while your Health is full. |
| Dominatus | Restores Health when you perform Critical Attacks. |
| Surplus | Increases Catalysts earned from killing enemies. |
| Potent Concoction | Makes Ferrofluid Flasks restore Nephtoglobin alongside Health. |
| Marksman’s Bane | Allows bullet parries that grant Pistol ammunition. |
Chapter boss spoilers: Win the rematch
General Lothaire, the Eagle-Bearer is the boss you must defeat in Regroup. He has two phases with separate health bars. Winning this encounter opens Lantern fast travel.
Parry his ordinary sword and spear combos, and dodge attacks that flash red. For shoulder gunfire, dodge as the gold flash nearly disappears. After his transformation, watch for unblockable arm swings and grabs; his summoned soldiers can be cleared with the Pistol or Fire.
- Ignite Lothaire with Fire Transmutation to begin your damage sequence.
- Shoot his body’s weak points with the Pistol to build substantial stagger.
- Perform a stun attack when his stagger bar fills to deal heavy damage. His transformed phase supports the same Fire-and-weak-point approach.
What to collect on a later return
| Return target | Required unlock and route |
|---|---|
| Quarry Ferrofluid Flask Power Upgrade | Return with Grappling. Ride the elevator near the Lantern, grapple across and pull the crate to reach the enemy-filled upper area. The chest is at the top near the return zipline. |
| Perfect Copy | Return to The Other Side with Shield Transmutation for the poison route. Shoot the train-car weak point to open the passage; the chest is in the tent immediately to the right. |
| The Emissary’s remaining objectives | Collect the Emissary’s Letter in the tunnel after Slaughtermill later in the campaign. Shield Transmutation, obtained at the university, lets you return through the poison and continue the quest. |