Where to get weapons and what to upgrade first
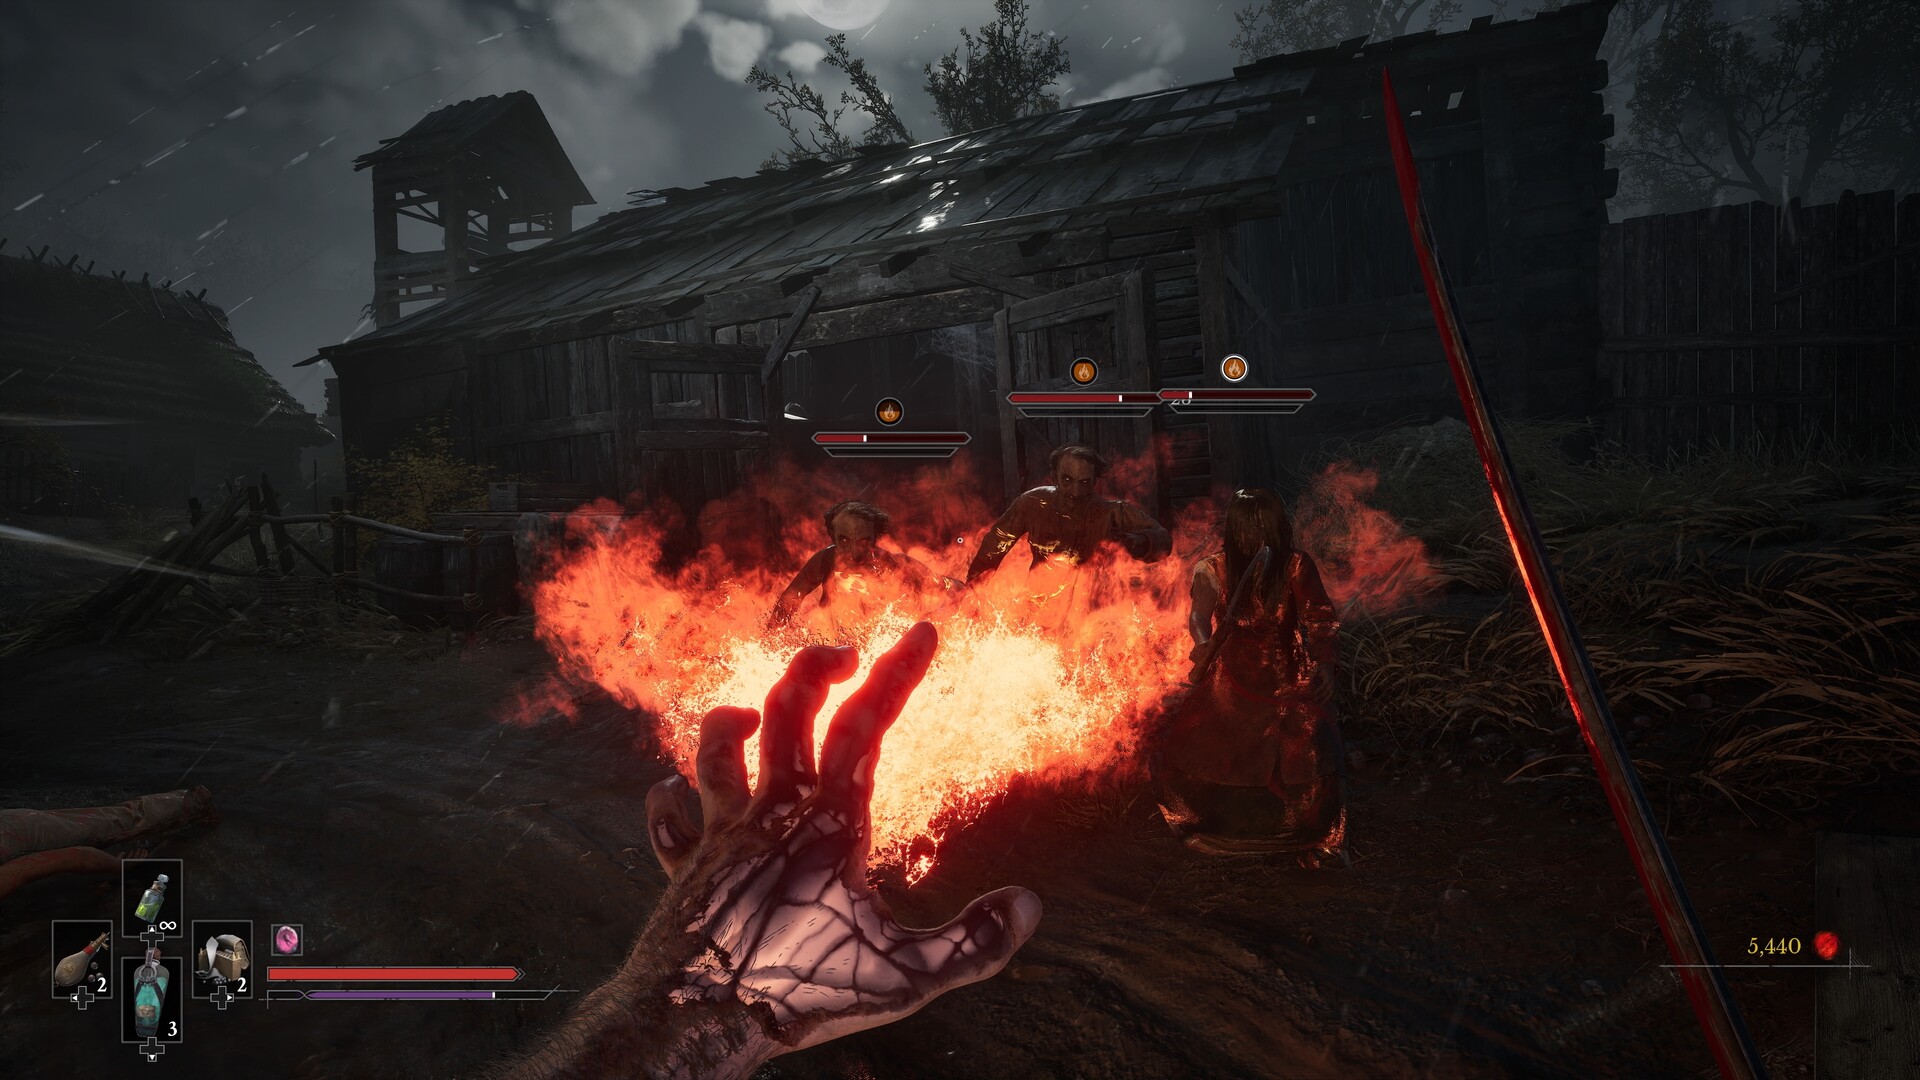
You obtain every Valor Mortis weapon and Transmutation through the main story, starting with the Saber in The Battlefield and eventually gaining Shield in the University. Upgrade the Saber first for flexible defence, then develop Fire and the Pistol for early fights, or invest in the Rapier or Claymore to suit your melee style.
Every weapon and Transmutation pickup
| Weapon or power | Where to get it | Damage, role and defence |
|---|---|---|
| Saber — melee | The Battlefield: automatically obtained at the start of the game. | Flexible defence with blocking and parrying. Damage rises from 20 at level 1 to 60 at level 10. |
| Rapier — melee | Abandoned Church: pull it from the body blocking the path toward the Village. | Fast attacks that shatter Nephtoglobin Weak Points; parry only. Damage rises from 25 to 45. |
| Claymore — melee | Cursed Hollow: shoot the weak spots on both sides of the church to open its front door, then pull the weapon from the body inside. | Heavy blade; weapon damage rises from 50 to 100. It can block but cannot parry; secondary attacks spend Nephtoglobin. |
| Pistol — firearm | Valley of Ashes: during the bridge platforming section, check the train car on the left. | Weak-point utility with 30 to 60 damage and a 5-round magazine. |
| Blunderbuss — firearm | Fallen Village > Fields: defeat the Volunteer carrying a large sword, then take it from the carriage table behind them. | Close-range crowd damage. A shot caps at 150 damage initially and 350 at maximum, with 2 shots per magazine. |
| Musket — firearm | Vale of Wrath > Under the Bridge: defeat the dual-sword Volunteer in the fort for the Wagon Key. Open the central wagon and take it from the table. | Long-range precision with 150 to 300 damage, firing 1 shot before reloading. |
| Fire Transmutation | The Battlefield: automatically gained in the opening section, where it burns gold vines needed to continue. | Builds Ignite for damage over time and clears gold vines. |
| Stasis Transmutation | Caverns > Weeping Ledge: obtained through the story after using the first crank to rotate the walkway. | Freezes enemies for a damaging follow-up and stops moving gears. |
| Shield Transmutation | University > Main Hall: cross the library chandelier, enter the open room and collect it at the top of the stairs. | Blocks enemy damage and lets you cross poison areas. |
Compare Endurance, ammunition and Nephtoglobin
Melee attacks spend Endurance, so leave enough for a dodge after your combo. The Rapier's light attack costs 15 Endurance, while successful parries cost no Endurance. A perfect Rapier parry deals 150 Posture damage compared with the Saber's 100, making it useful when you can read an enemy's swings.
The Musket and Blunderbuss share special ammunition, so switching between them still draws on the same reserve. Fire, Stasis, Shield and the Claymore's secondary attacks spend Nephtoglobin. Melee hits and shattered Weak Points replenish Nephtoglobin, while resting at a Lantern refills it.
How to upgrade at the Abandoned Church
- Return to the Abandoned Church. Visit James's Iron Bench for melee weapons and firearms, or Louis's Laboratoire for Transmutations.
- Collect materials from pickups and chests, and buy available lower tiers from the hub merchants. Final-tier materials are not sold, so collect those through exploration and quests.
- Upgrade your chosen weapon with the matching materials, then select its unlocked Enhancements. You can switch between unlocked Enhancements when a different fight calls for a change.
| Class | Materials needed for each target level |
|---|---|
| Melee weapons | Levels 2–4: Crude Blade Material ×1, ×2, ×3 respectively. Levels 5–7: Pure Blade Material ×1, ×2, ×3. Levels 8–9: Distilled Blade Material ×1, ×2. Level 10: Quintessential Blade Material ×1. |
| Firearms | Levels 2–4: Standard Firearm Parts ×1, ×2, ×3 respectively. Levels 5–7: Superior Firearm Parts ×1, ×2, ×3. Levels 8–9: Exquisite Firearm Parts ×1, ×2. Level 10: Masterwork Firearm Parts ×1. |
| Transmutations | Level 2: Crude Transmutation Material ×2. Level 3: Pure Transmutation Material ×2. Level 4: Distilled Transmutation Material ×2. Level 5: Quintessential Transmutation Material ×1. |
Buying all lower-tier materials for a blade or firearm costs 45,000 Catalysts. A Transmutation costs 28,000 Catalysts. Materials you collect reduce how much you need to buy.
Choose upgrades for the fights ahead
| Weapon or power | Upgrade priority and practical use |
|---|---|
| Claymore | Rampage at level 2 supports doubled heavy-attack damage or a cheaper Transmutation. Flesh Wound at level 8 reduces damage taken while attacking; Bloodlust at level 10 restores 30 Health when spending Rampage. |
| Pistol | Nephtoglobin Infusion — Bullet at level 2 delivers 40 Posture damage. Use weak-point shots alongside Fire against General Lothaire to build toward a stagger. |
| Blunderbuss | Showstopper at level 2 interrupts Unblockable Attacks; Collateral Damage at level 5 widens the spread for crowds. Against the Iron Marshall, shoot the exposed back weak point. |
| Musket | Prioritize Puncture at level 2 for piercing shots. The Cannon infusion at level 5 adds an explosive round. |
| Fire Transmutation | Invest early if you use Ignite often, particularly against General Lothaire and Experiment 83, which take extra fire damage. |
| Stasis Transmutation | Termination at level 2 lets Heavy Attacks shatter partially built Stasis. At level 3, choose Eruption for area damage or Implosion for more damage per segment. |
| Shield Transmutation | Aim for Impenetrable Defence at level 4 to block red attacks. Level 5 adds Shield Bash, which knocks enemies backward and enables Abyssal Eviction. |
Find materials for the final upgrade
There are enough materials to fully upgrade every melee weapon, firearm and Transmutation. The King of Smugglers awards Masterwork Firearm Parts. Monster Hunt awards Quintessential Transmutation Material, so include these quests in your collection route.
- For Quintessential Blade Material, explore Fortress > Chapel. Reach the underground sewer room after the pole jump, enter the door on the left and turn right at the bottom of the stairs. Clear the enemies and open the explosive chest at the back. After completing The Oathbound, another material is in the chest to the right of the table at Fortress > Courtyard.
- For Masterwork Firearm Parts, open the door beside City of Orphans > Sewers with the Sewers Master Key. In University > Main Hall, take the poison hallway opposite the chandelier route, descend into the library and continue to the lecture hall with hanging bodies. Its chest is under the balcony at the back.
- At University > Main Hall, follow the poison hallway to the elevator, ride down to open the Lantern shortcut, then ride back up and check the balcony chest for Quintessential Transmutation Material. At Fortress > Traverse, light both signal fires, pass through the opened gate and loot the chest immediately on the left.