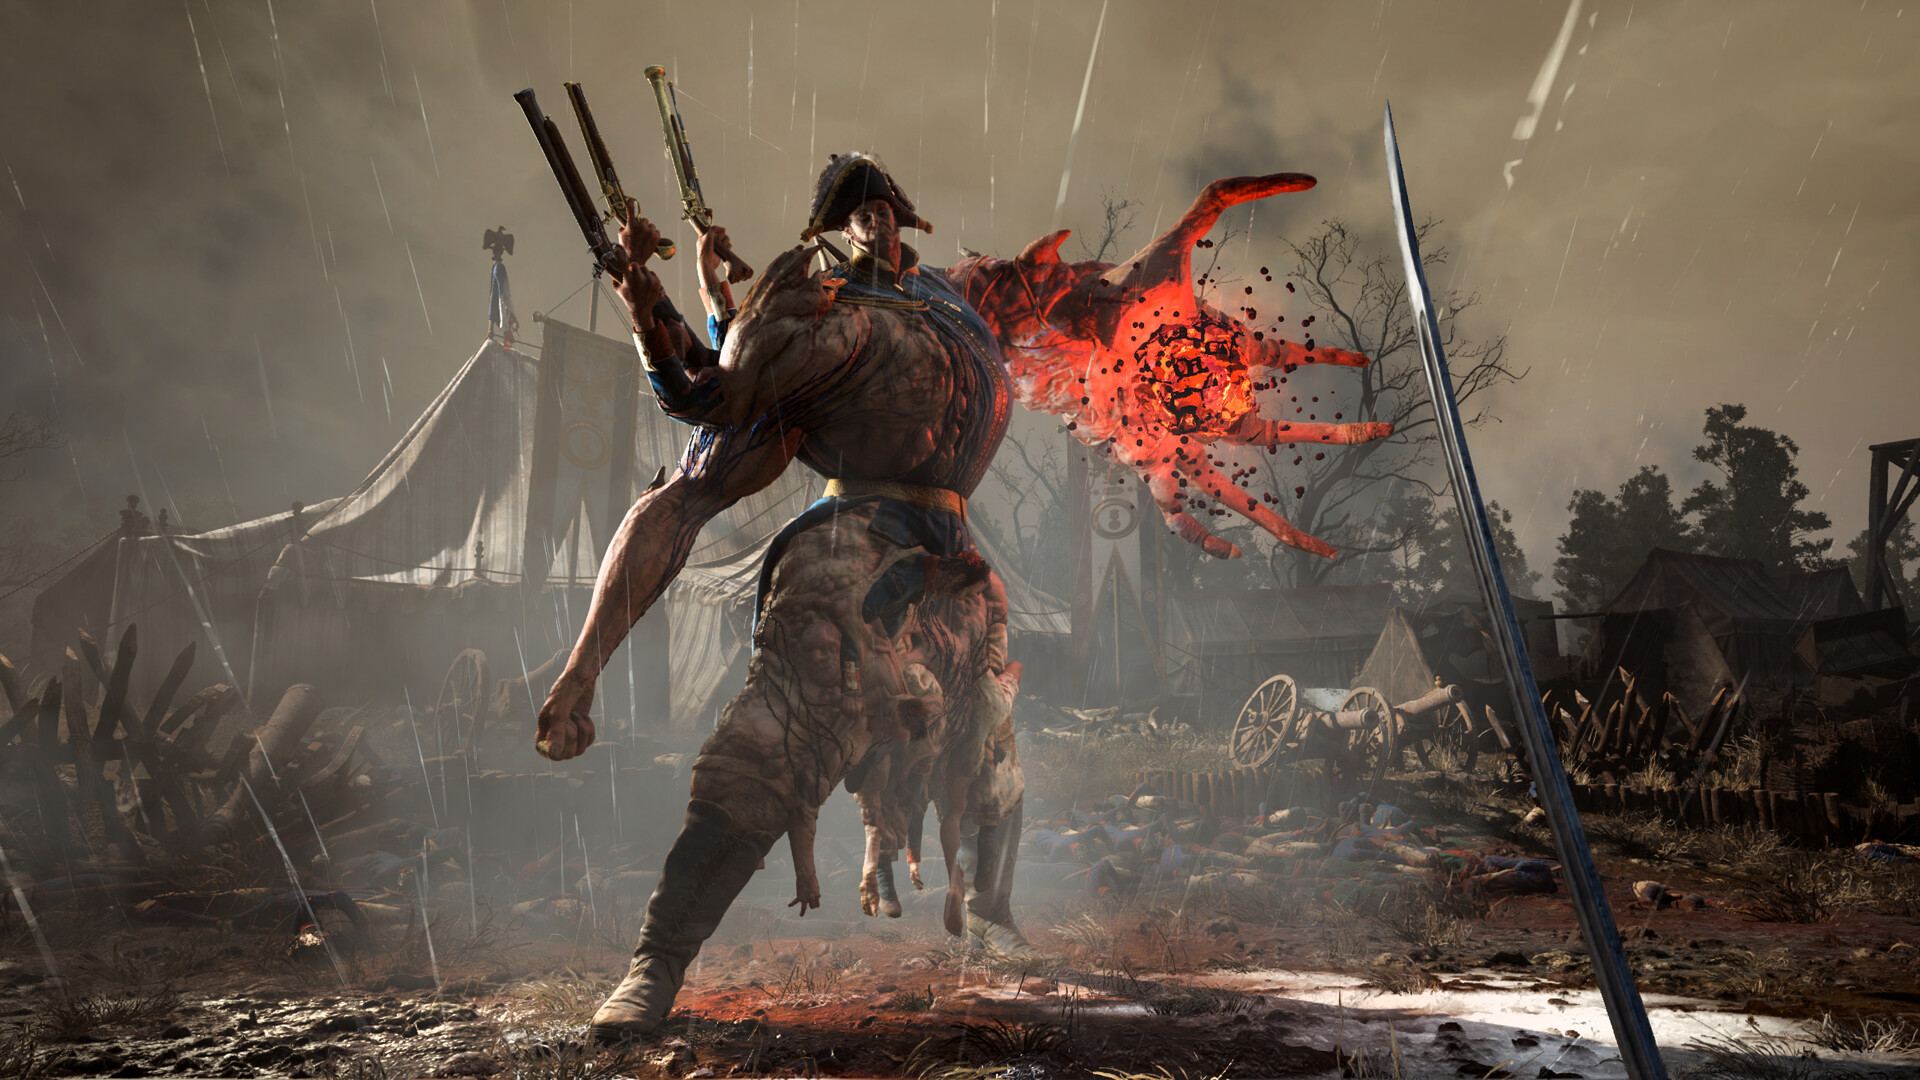
Follow the Boss Route
Valor Mortis has 10 mandatory story bosses, starting with General Lothaire; the complete order and nearby Lanterns are below. Prepare for each fight around parryable melee combos, dodges for red attacks, and the weapons or Transmutations that exploit its openings.
Spoiler warning: the following sections reveal every boss, transformations and the final encounter.
All Bosses in Story Order
| Boss and Story Chapter | Nearest Lantern |
|---|---|
| 1. General Lothaire, the Eagle-Bearer — Chapter 1: Revival introduction; Chapter 2: Regroup rematch | The Battlefield > Field Encampment; Abandoned Church > Church |
| 2. The Iron Marshall — Chapter 3: Rendezvous | Fallen Village > Orchard |
| 3. Sphinx — Chapter 4: Dark Descent | Caverns > Ancient Lair |
| 4. Slaughtermill — Chapter 5: Crime | Vale of Wrath > Old Windmill |
| 5. Anna, the Bride Drowned in Tears — Chapter 6: Punishment | Cursed Hollow > Eerie View |
| 6. High Justicar Aurelius, Last of the Faithful — Chapter 7: Witch Hunt | The Outskirts > Breach |
| 7. Experiment 83 — Chapter 7: Witch Hunt, end of The Outskirts | The Outskirts > Lighthouse |
| 8. The Orphan — Chapter 8: Blasphemy, University | University > Sewage Drain |
| 9. Captain Raphael of the Nephtis Superioris — Chapter 9: In Ruins, Fortress | Fortress > High Tower |
| 10. The Entity — Chapter 11: Reflection | Caverns > Ancient Lair, at the stone-door approach |
Prepare Before Another Attempt
- Rest at your latest Lantern to restore Health and Nephtoglobin before another attempt.
- Choose the Saber or Rapier for a parry strategy; the Claymore cannot parry.
- Press Block as a parryable hit lands; the default timing window is 0.2 seconds, with tighter exceptions.
- Equip Duellist’s Focus if timing is your main problem; it widens the melee parry window.
General Lothaire: Burn and Break Weak Points
The opening encounter is intended to end in defeat; the rematch comes in Chapter 2: Regroup. Ignite Lothaire with Fire, then shoot his weak points with the Pistol to build stagger. Parry ordinary weapon combos, but dodge shoulder-gun shots as their gold flash nearly disappears. In his transformed phase, evade the arm grabs and clear summoned soldiers with the Pistol or Fire.
The Iron Marshall: Reach the Back Weak Point
Shoot arena barrels to ignite the Marshall and create an opening. Move behind it after an attack or fire stagger, then fire the Blunderbuss into its back weak point. Parry its slow pipe swings when they are blockable, and dodge the unblockable attacks.
Sphinx: Parry Claws and Watch the Tail
Parry claw swipes rather than holding block, because blocked claws still build Stasis and can reduce your stamina. Sidestep the purple ground pillars and dodge the leap just before landing. Shoot the tail’s suspended orb to prevent its ground wave, or jump over the wave. Once the mask breaks, shoot the exposed face between attacks and retreat immediately when the Sphinx raises its head to release poisonous bugs.
Slaughtermill: Open the Windmill and Destroy Its Eyes
Slaughtermill is a weak-point puzzle. Keep a firearm ready for exposed targets. A checkpoint precedes the platforming stretch.
- Shoot the tentacle weak points and the weak point exposed underneath during the stomp.
- Grapple open the lower door to expose the gears.
- Freeze the gears with Stasis to stop the windmill spinning.
- Grapple open the other door to reveal the remaining weak point.
- Destroy that weak point to trigger the pushback and the approach toward the interior.
- Follow the grapple route around the windmill after avoiding the ground waves to reach the interior.
- Shoot the interior eyes, using the Blunderbuss on the large central eye for heavy damage.
- Destroy the next outside weak points on the lower door, windmill and tentacle sides.
- Activate Nephtoglobin walls to block the incoming fire during your approach.
- Follow the left-hand platforming route, shooting exploding bodies before landing on their platforms.
- Shoot the ceiling tentacle weak points to expose the final central eye.
- Damage the exposed central eye until Slaughtermill falls.
Anna: Punish the Emergence
Dodge Anna’s unblockable attack when she emerges from the water, then punish the recovery. Parry her ordinary follow-up attacks if she remains above water. Clear summoned villagers promptly to prevent attacks from behind; defeating Anna also kills her remaining summons.
High Justicar Aurelius: Learn the Delayed Leap
Parry Aurelius’s sword combos and use Fire between attack strings. His transformed form retains those sword attacks, but holding out his altered arm signals a quick arm combo. Delay your dodge against the unblockable jump: he hangs in the air before striking, so reacting immediately to the takeoff can be too early.
Experiment 83: Dodge Beside the Grab
Dodge sideways past the long unblockable grabs, then attack from behind during recovery. Shoot accessible weak points with a firearm to build stagger. The narrow hallways make the back weak point awkward to hit, so avoid forcing that angle when a grab recovery offers a safer opening.
The Orphan: Avoid Vents and Interrupt the Pipe
Stay off poison vents and dodge the pursuing underground sword just before it reaches you when the arena turns red. In the lower arena, parry arm combos while watching for an unblockable hit within the string. Ignite the Orphan before its pipe sequence starts to interrupt it. Keep dodging sideways while the chest-fired poison beam continues.
Captain Raphael: Parry and Deny Healing
Parry Raphael’s long sword strings, then maintain pressure when he retreats to reload or heal. Dodge sideways when he raises the gun in his left hand, and jump over Stasis waves when he kneels. Later, watch for a follow-up wave and the crouched, flaming-sword slash. A Cleansing Vial clears Stasis if a wave catches you.
The Entity: Adapt After the Transformation
Parry sword strings for stagger and use Fire between exchanges. When the Entity teleports away and rises, watch for approaching tentacles or its gun stance before dodging. Clear clones with the Pistol or Fire during the opening phase and the transition. After transformation, treat Claymore swings as likely unblockables, dodge the delayed sideways leap if its parry timing troubles you, and sidestep incoming boss copies before striking them.
Recurring Enemies and Victory Rewards
The Iron Marshall, Aurelius’s transformed Eternal Guardsman form and Experiment 83 appear again as regular enemies. The Entity also summons copies of earlier bosses. Defeated story bosses themselves do not respawn.
Boss victories advance the story and unlock associated achievements, while their Catalyst rewards fund levels or merchant purchases. Lothaire’s rematch opens Lantern fast travel. After Experiment 83, check the side laboratory chest at Lighthouse for a Quintessential Blade Material to use toward a maximum melee upgrade.