Your Route Through the Battlefield
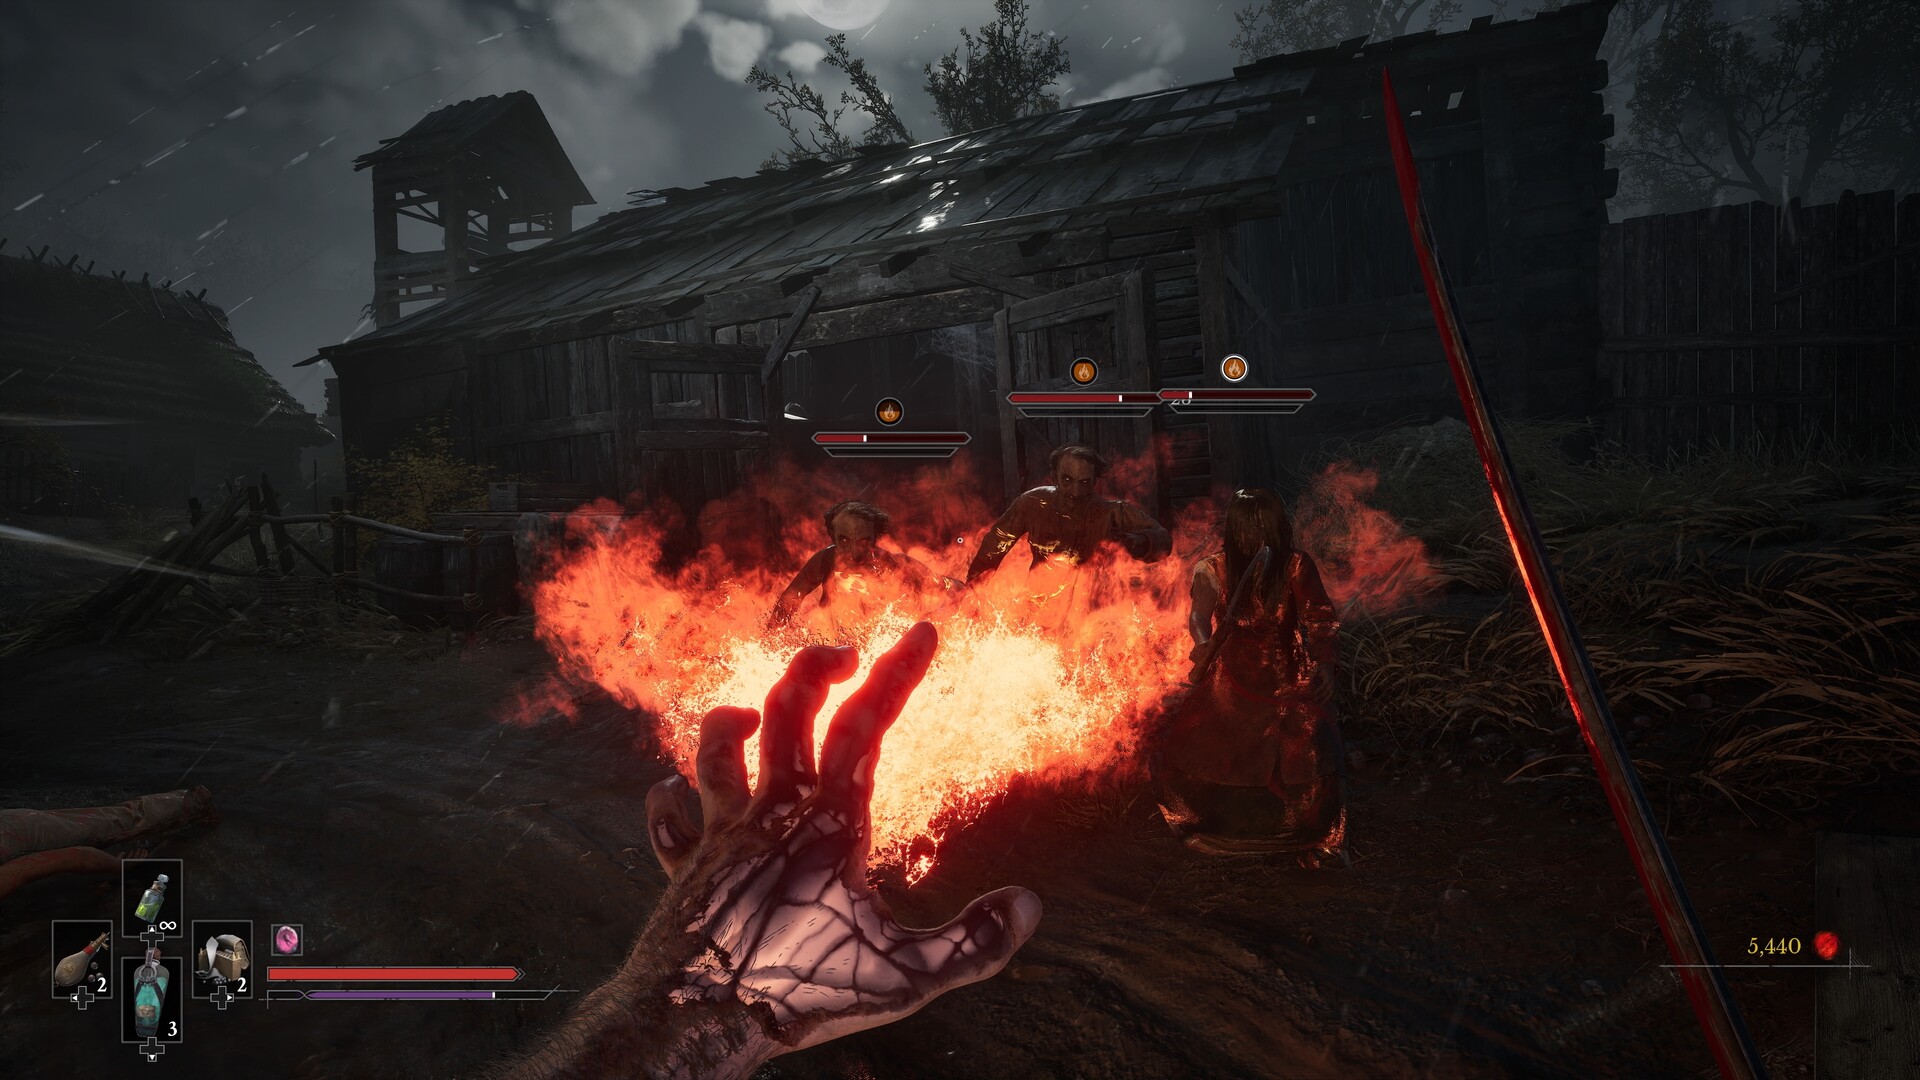
Complete Chapter 1: Revival by following The Battlefield through Onslaught Arch, Trenches and Field Encampment to the initial General Lothaire encounter. Obtain the Saber and Fire Transmutation along the story route, then take the detours below for Bottomless Well, Transmuted Persistence and Iron Grip.
Using Lanterns and Clearing the Route
Use the Lantern names as landmarks, although the fast-travel menu that displays them becomes available after the boss in Chapter 2. Rekindling a Lantern establishes your respawn point, while resting restores Health and Nephtoglobin and revives non-boss enemies. Collected Ambers can be equipped through the Levelling menu at Lanterns as slots become available. The Battlefield has no key to collect for this route; Fire clears the gold vines that block progression.
Follow the Opening Route and Amber Detours
- Follow the opening story sequence to receive the Saber automatically.
- Use the Fire Transmutation acquired during the opening section to burn the gold vines blocking your progress.
- Rekindle Onslaught Arch when you reach the opening Lantern to establish your respawn point.
- Climb back up the cliffs across the branches from Onslaught Arch to reach the gold vines on your left.
- Burn those vines with Fire to reveal the chest beyond them.
- Open the chest behind the burned vines to collect Bottomless Well.
- Follow the left side of the battlefield route to the gold vines just before the metal carriage.
- Burn the vines beside the carriage to access the enemies and chest behind them.
- Loot that chest to obtain Transmuted Persistence before continuing through the battlefield.
- Take the right-hand path after the Plunge Attack tutorial in Trenches instead of climbing the wooden ledge.
- Open the chest behind the enemy in that dead end to collect Iron Grip.
- Rekindle Field Encampment as you approach General Lothaire to establish the nearby checkpoint.
What the Early Ambers Do
| Amber | Effect |
|---|---|
| Bottomless Well | Slowly regenerates lost Nephtoglobin over time. |
| Transmuted Persistence | Damaging enemies with Transmutations restores Recoverable Health. |
| Iron Grip | Makes using a Ferrofluid Flask faster and prevents that action from being interrupted. |
Choose an Amber around the problem you want help with. Consider Bottomless Well if you want Nephtoglobin to recover over time, or Transmuted Persistence when using Fire to recover Health. Iron Grip is a useful alternative when interruptions during healing are giving you trouble.
Read the Letters near Onslaught Arch
Pick up the Eternal Guard’s Order and Fencer’s Journal near Onslaught Arch to begin Guard Eternal. Their trail reaches a blocked passage that you cannot clear yet, so leave that part for a return visit using fast travel. Reading the journal beyond the blockage completes the quest, which has no reward.
Spoiler Warning: How Revival Ends
The initial fight against General Lothaire, the Eagle-Bearer, is intended to end in defeat. Losing this encounter is the normal story outcome before Chapter 2: Regroup, where the main victory against him occurs. You do not need to restart your opening run simply because he defeats you.
The demo uses bespoke versions of its chapters, so its progression should not determine how you approach this full-game route. The developer places the full-game Lothaire boss victory at the end of Chapter II. Treat the opening confrontation as your introduction to him and continue when the story moves forward.
Return for the Oathbound and Duellist’s Focus
Save the shootable-wall detour near Onslaught Arch for your return with the Pistol. You obtain that weapon during Chapter 2, and fast travel becomes available after its boss encounter. The return leads to an Eternal Guardian connected to The Oathbound and a chest containing Duellist’s Focus.
- Fast travel back to Onslaught Arch when the travel menu becomes available.
- Climb back up the cliffs past the camp to reach the fork occupied by enemies.
- Take the left branch to reach the wall with the shootable weak point.
- Shoot the red growth with your Pistol to clear the passage.
- Defeat the Eternal Guardian beyond the wall to obtain a Mysterious Stone Pyramid and Valen Duroc’s Emblem.
- Open the chest behind the Guardian’s position to collect Duellist’s Focus.
Where to Collect Ferrofluid Upgrades Next
Continue into Chapter 2: Regroup in the Valley of Ashes for the early Ferrofluid upgrade detours. Near Guidepost, pass the wagon tipped on its side and take the branch toward the wooden cliffside platform. Before using the pole swing, break the boxes on the left to reach a dead end with an enemy and a chest containing a Ferrofluid Flask Power Upgrade.
After the bridge platforming section, check the chest to the left of The Climb Lantern for an Empty Ferrofluid Flask. Power Upgrades increase healing per use, while Empty Ferrofluid Flasks increase the uses available between rests. Apply collected flask upgrades at a Lantern.