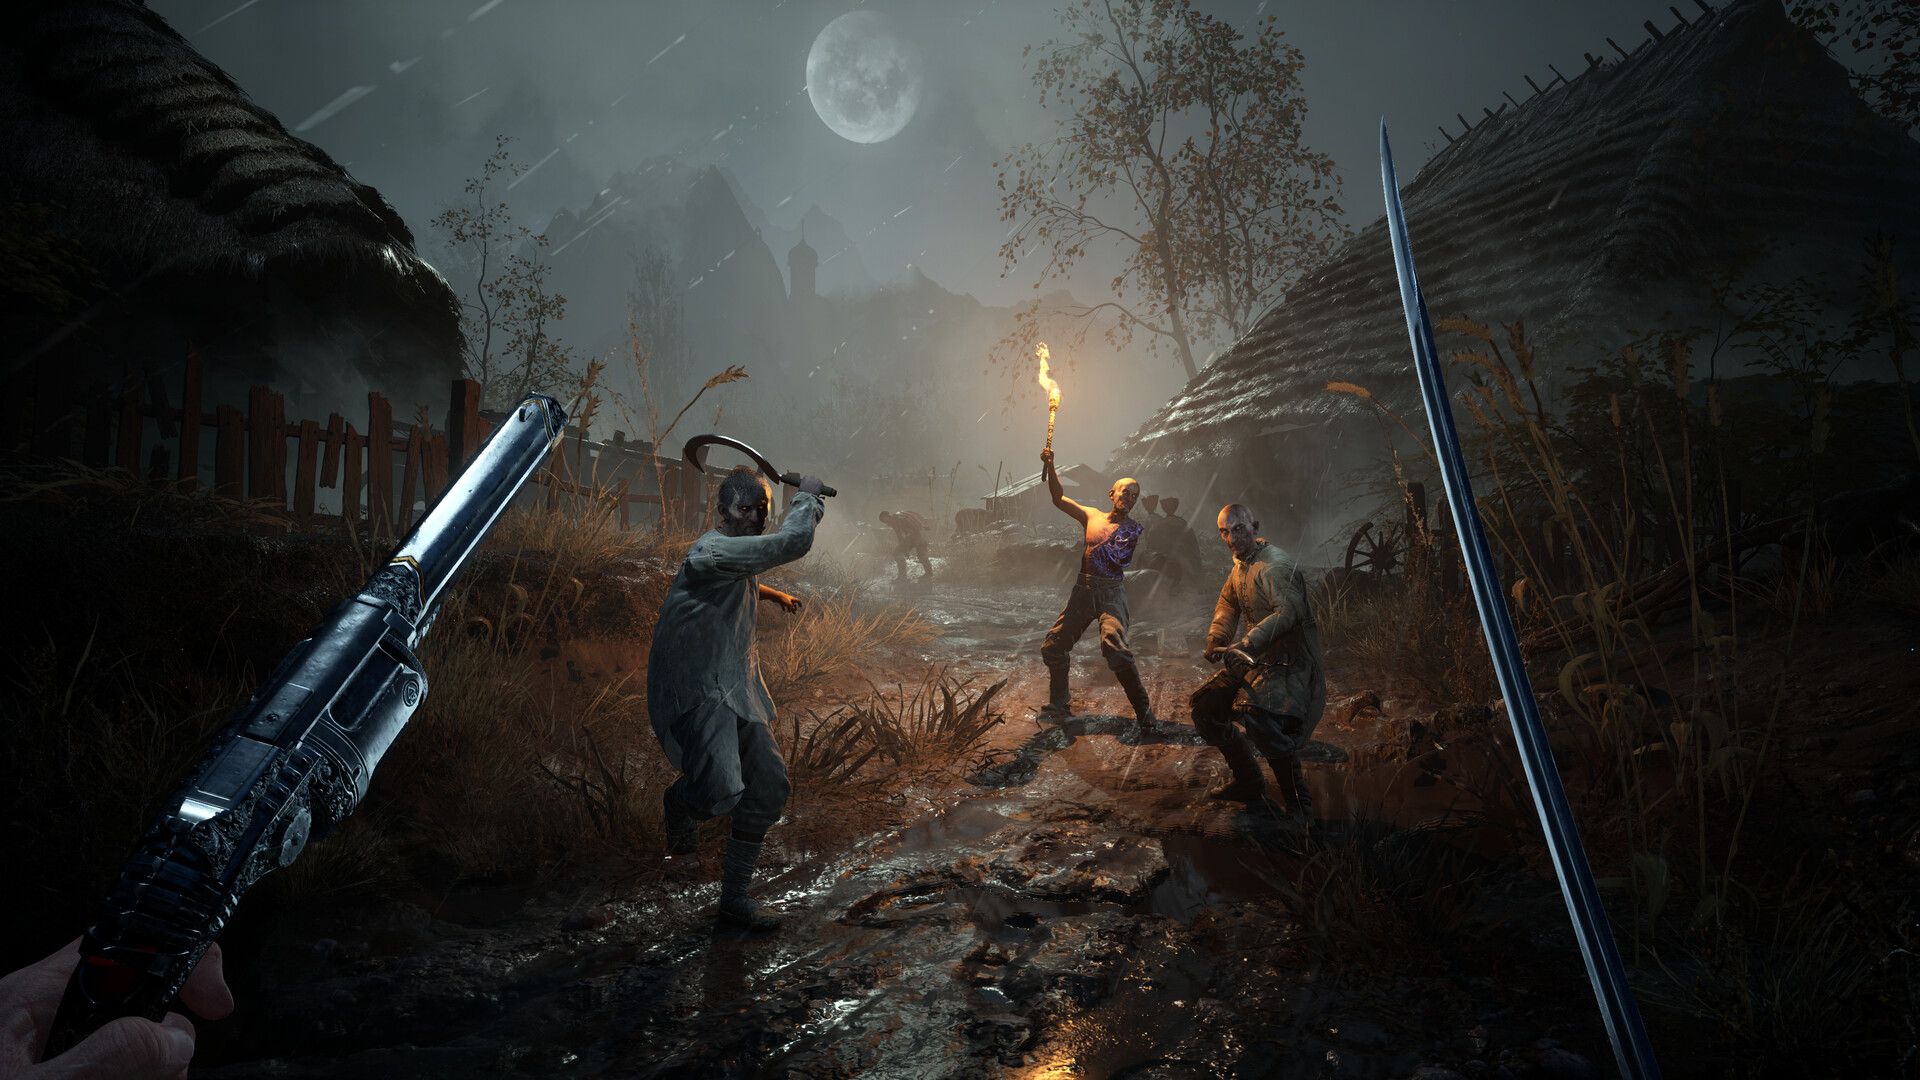
Complete Punishment through Cursed Hollow
Complete Valor Mortis Chapter 6: Punishment by defeating Anna, The Bride Drowned in Tears, exploring Cursed Hollow and taking the required Claymore from the church. Follow Eerie View, Village Church, Deep Water and Silent Cannons, collecting the village upgrades and completing the side quests before returning with the Red Ribbon to finish Till Death.
Spoiler warning: the walkthrough below covers the chapter’s boss and the outcomes of its village side quests.
Optional return to the Marketplace
- Return to Fallen Village’s Marketplace Lantern for an optional Oathbound detour. The cave route requires grappling and the ability to activate Nephtoglobin formations.
- Follow the path back through the carriage, left at the intersection and onward to the cave containing the Eternal Guardsman.
- Defeat the Guardsman for Etienne Vauclair’s Emblem and a Mysterious Stone Pyramid. The nearby loot includes a note, a Legendary Catalyst Clot and Pure Transmutation Material.
Eerie View: Defeat Anna and start Till Death
- Dodge Anna’s unblockable attack when she emerges from the water to create an opening for retaliation. Her normal follow-up attacks can be parried.
- Clear the villagers when they appear alongside Anna so they cannot attack you from behind. Her health bar belongs to Anna herself.
- Finish Anna when her health is low enough to safely commit to attacking her. Defeating her also kills the remaining summoned villagers.
- Inspect the wreath at the altar at the end of the arena to start Till Death. Its next required item comes after the Claymore pickup.
Village Church: Find upgrades and the Headman’s Key
- Shoot the upper-floor weak point in the farther house while looking back toward Village Church from the right-hand path across the poison.
- Reach the upgrade chest by entering the house at ground level, climbing upstairs and jumping across to the neighboring building.
- Collect Headman’s Daughter’s Prayer to start Sleeping Beauty. At the large tree, the route branches right beneath a fence, through a building and down to a shrine island.
- Defeat the miniboss in the second room of the building farther along this branch to obtain the Headman’s Key.
- Unlock the headman’s house back in the main area. The upstairs room contains a note on the table to the right and the spinning wheel.
- Choose Let Her Sleep at the spinning wheel for Distilled Transmutation Material and 2,000 Catalysts. Waking her instead leads to a monster fight and a 3,000-Catalyst payout, with the material still available.
- Shoot the weak point visible through the window of the right-hand building before the giant plague tree. This releases a carriage beside another building.
- Use the released carriage to reach the upper-floor chest containing another Ferrofluid Flask Power Upgrade.
Deep Water: Secure the checkpoint and island loot
- Activate Deep Water before challenging the poison-surrounded miniboss you passed on the main path. A full poison buildup is lethal.
- Defeat that miniboss to collect Wound That Heals. Its rear chest contains Distilled Transmutation Material.
- Follow the straight approach before the church to the circular hay-bale area patrolled by a cannon enemy. The optional Guardsman route lies on the right island, around the hay near a building.
- Defeat the island’s Eternal Guardsman for Severin Susse’s Emblem and a Mysterious Stone Pyramid, advancing The Oathbound.
- Open the chest behind the Guardsman’s position to collect Life Diverted before returning to the main route.
Silent Cannons: Help Seamus and collect the Ambers
- Speak through Seamus’s window to start The Curious Case of Seamus Diggory and receive an Empty Bottle. Reach his house via the wallrun route right of the cannon enemy after crossing the river platforms.
- Open the chest past Seamus’s shack for Indestructible Shell. The surrounding bodies and the chest itself are explosive, so approach cautiously.
- Defeat the dog miniboss beyond the rear house containing three notes to obtain Warrior’s Fury.
- Fill the Empty Bottle at the pig lying in the miniboss area to obtain the Blood-Filled Bottle.
- Collect the Bottle of Wine from the barrel inside the shack with animals hanging from its ceiling.
- Give Seamus the wine for a Ferrofluid Flask Power Upgrade and 3,000 Catalysts. Giving him blood also grants the upgrade and Blood and Wine achievement, but pays 1,000 Catalysts.
Open the church and finish Till Death
- Collect the Empty Ferrofluid Flask from the chest left of the shortcut back to the prior Lantern near Village Church.
- Shoot the weak spots on the left and right sides of the church to open its front door.
- Pull the Claymore from the body inside the church. This weapon pickup is required for progression.
- Collect the Red Ribbon from the grave reached by exiting the church’s back and turning right toward the memory.
- Place the Red Ribbon on the altar wreath in Anna’s arena to receive Tomorrow’s Promise.
- Rest at a Lantern before returning to the wreath for the final interaction.
- Inspect the wreath again to finish Till Death and collect its final consumable.
Important loot to check before leaving
| Item | Where to collect it |
|---|---|
| Claymore | The body inside the church after opening its front door. |
| Wound That Heals | The poison-surrounded miniboss before Deep Water. |
| Indestructible Shell | The explosive chest beyond Seamus’s shack. |
| Warrior’s Fury | The dog miniboss beyond the house containing the notes. |
| Life Diverted | The chest behind the island’s Eternal Guardsman. |
| Tomorrow’s Promise | The altar wreath after placing the Red Ribbon. |
| Ferrofluid Flask Power Upgrades | The house-jump chest, carriage-access chest and Seamus’s quest reward. |
| Empty Ferrofluid Flask | The chest left of the shortcut near Village Church. |
| Distilled Transmutation Material | Sleeping Beauty’s reward and the chest behind the poison miniboss. |
What comes next and what needs a return
Anna is the chapter’s opening boss; the Claymore is the required weapon pickup near its end. Witch Hunt follows Punishment, with Justicar Aurelius encountered near the start.
Till Death requires returning to Anna’s altar after collecting the church’s Red Ribbon. The Oathbound continues into later regions, with its Empty Ferrofluid Flask and Quintessential Blade Material available in the final quest room in the Fortress.
Cursed Hollow supports fast travel, allowing a return for its chests and side quests. Apply collected Ferrofluid upgrades at a Lantern before continuing.