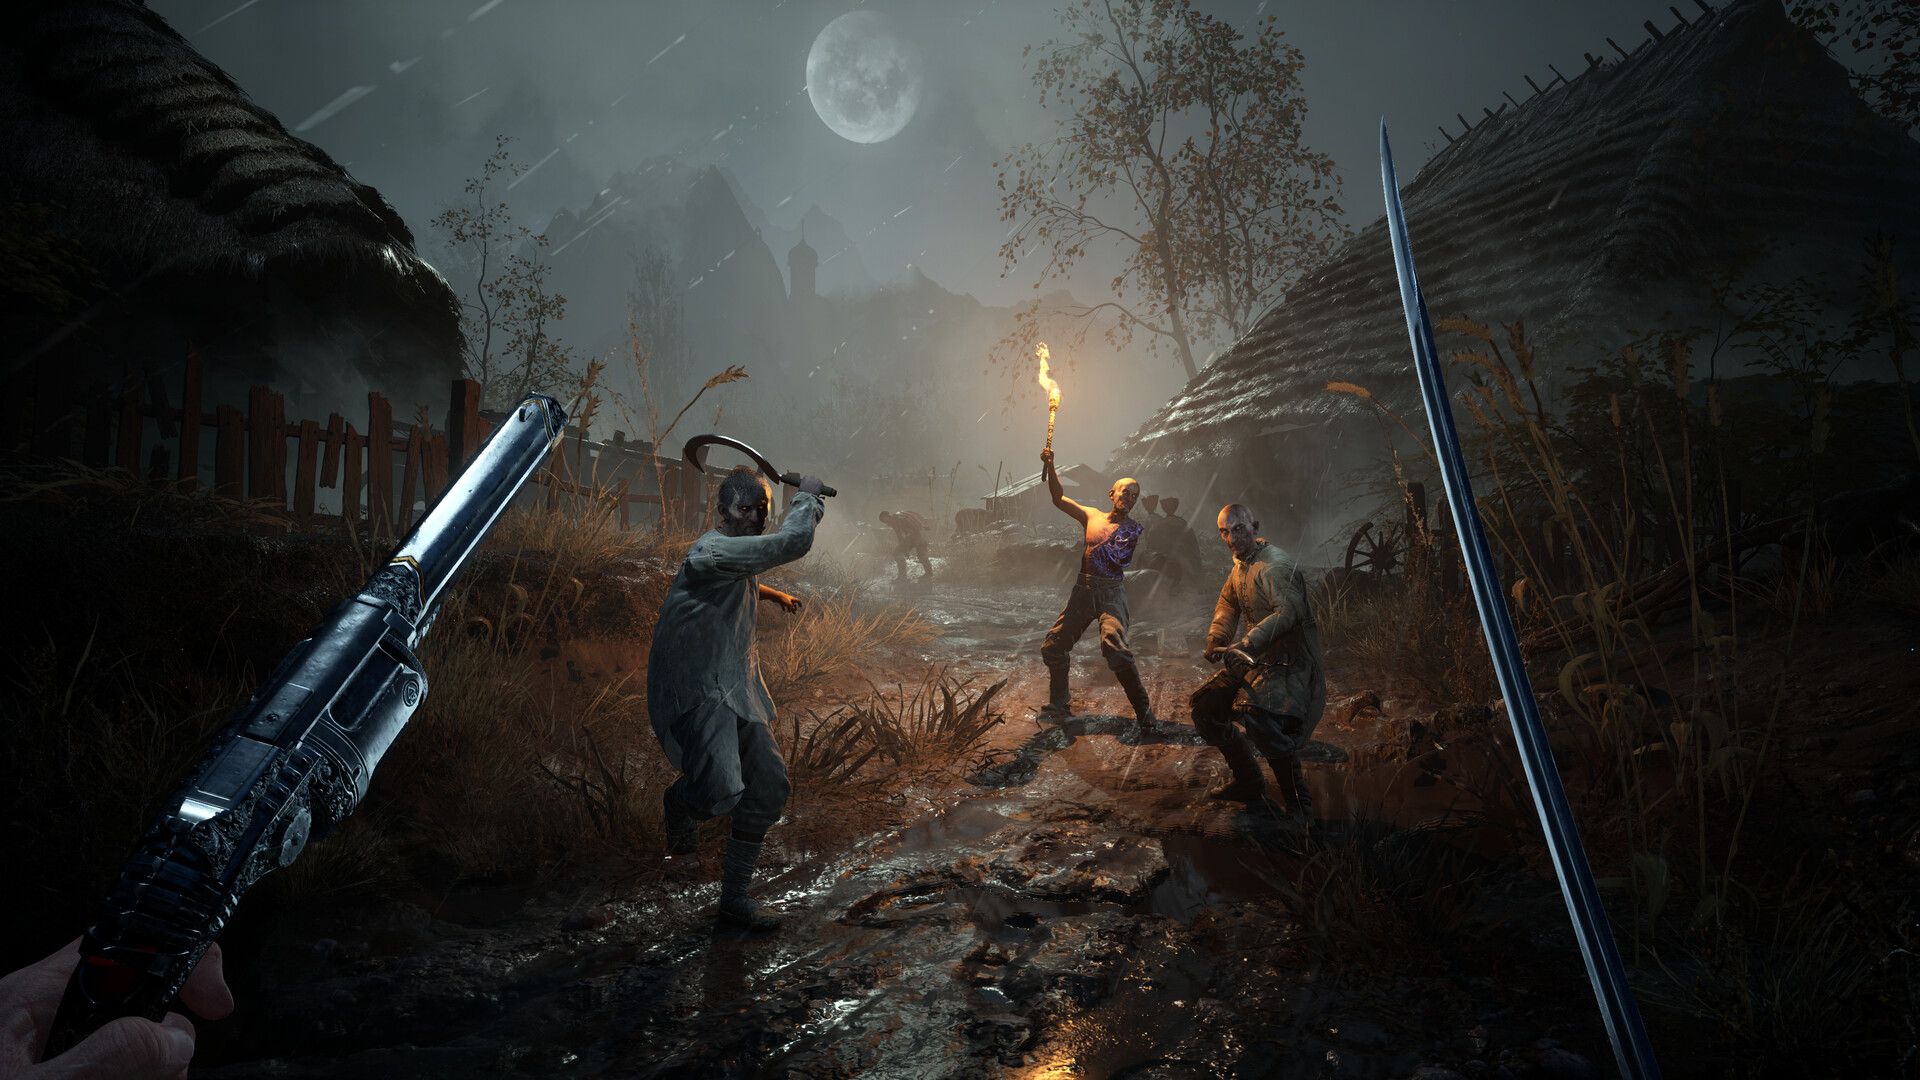
How to Defeat the Entity
Defeat the Entity by parrying its sword combos into Critical Attacks, applying Fire between exchanges, and dodging its unblockable attacks. Survive both health bars to complete the main story and earn In His Own Image.
Spoiler warning: The sections below cover the complete final boss fight, its phase changes, and what happens after the ending.
Reach Ancient Lair and Prepare Your Equipment
Bring a blade that supports the parry strategy: the Saber can block and parry, while the Rapier supports parrying but cannot block properly. The Claymore cannot parry. Keep the Pistol and Fire Transmutation ready for the clones and the openings between sword exchanges.
If you already have Duellist's Focus, consider equipping it to widen your melee parry window. Dominatus also suits this approach because it restores Health when you perform a Critical Attack. These effects support the defensive rhythm you will use throughout the encounter.
- Progress to Chapter 11: Reflection after escaping the jail, bringing you to the final section of the campaign.
- Choose to go to the cave when speaking with Lucjan; this takes you to the Caverns > Ancient Lair Lantern.
- Rekindle the Ancient Lair Lantern so it becomes your respawn point for the attempt.
- Rest at the Lantern to restore your Health and Nephtoglobin before approaching the encounter.
- Interact with the stone door at the end of the area to trigger the Entity boss fight.
Phase One: Sword Combos and Teleport Cues
The Entity's long sword strings are your main opportunity to build stagger. Press your defensive input as each parryable hit lands, rather than holding it throughout the combo. Watch for red attacks and switch to dodging when they appear.
- Parry the blockable sword hits to build the Entity's Posture toward a stagger. Focus on reading the whole string before committing to extra attacks.
- Perform a Critical Attack when the Entity staggers to turn your successful defenses into substantial damage.
- Ignite the Entity with Fire Transmutation between sword exchanges. The burning damage continues while you return to defending against its next combo.
- Dodge out of the path of the two approaching tentacles after the Entity teleports far away and floats into the air. Let their approach guide your timing.
- Dodge the four consecutive gunshots if the distant Entity extends both arms or appears to hold a gun in front of itself. That pose signals the shooting variation of its ranged attack.
- Shoot the clones with your Pistol when a shorter teleport produces two beside the Entity. Each clone dies in a single hit, clearing its melee or Fire threat before you refocus on the boss.
Clear the Clones During the Phase Transition
Emptying the first health bar does not finish the encounter. The Entity rises into the air and speaks while summoning clones individually to attack you. Stay ready until it drops back down and the second phase begins.
- Shoot each arriving clone with the Pistol to clear the summons while the Entity continues speaking.
- Pick up dropped Pistol ammunition when you need it so you can continue dealing with the arriving clones until the Entity descends.
Phase Two: Dodge the Claymore and Boss Clones
The Entity retains much of its earlier pattern, but its Claymore attacks are now almost always unblockable. The distant tentacle attack also increases from two tentacles to four. Adjust your defensive response to those changes while continuing to look for parryable sword strings.
- Dodge the red Claymore attacks to avoid the unblockable swings. Recheck the attack cue whenever the Entity changes weapons instead of relying on your earlier parry rhythm.
- Dodge backward when the Entity jumps to your right and holds its delayed strike. This gives you an alternative to learning the parry timing for that particular attack.
- Dodge out of the approaching four-tentacle volley after the distant teleport. The same evasive response used earlier still works despite the larger volley.
- Dodge sideways when a summoned clone of an earlier boss leaps toward you, avoiding its incoming attack.
- Strike the boss clone after evading its leap; a single attack destroys it and lets you return your attention to the Entity.
Rewards and Where to Go After the Ending
Defeating the Entity completes the principal story objective and awards In His Own Image. After the ending, you are placed near the final Lantern. You can then return to earlier areas for remaining collectibles and optional objectives.
The choices in the final conversation change the dialogue without changing the ending's outcome. Choose the response you want to hear. Resting at a Lantern does not respawn defeated bosses.
Retrying the Fight and Clearing Progression Problems
If you die before winning, you respawn at the last Lantern you Rekindled and leave your Catalysts where you died. Recover them before another death or they are lost. Spend what you can before another attempt if protecting that currency is your priority.
If progression stops after you and the boss die together, install available game updates before trying again. Fixes for simultaneous boss and player deaths are intended to work retroactively. If the blockage persists, contact the game's support team, which can provide replacement saves for individual chapters.