Make early combat more manageable
Valor Mortis has a single combat difficulty: make early fights easier by parrying regular attacks, dodging red attacks, and improving your healing and Amber loadout. Against General Lothaire, combine Fire with Pistol shots to his weak points to build stagger and create damage openings.
For accessibility and comfort, the Steam page lists Custom Volume Controls, Subtitle Options, and Playable without Timed Input, alongside full controller support. Check the available options before settling into combat practice. Choose a control setup you can use comfortably and consistently.
Turn defence into posture breaks
- Practise parrying against a basic human enemy. Letting a familiar enemy attack gives you a repeatable way to learn its rhythm before attempting a difficult boss again.
- Press block just as a regular melee attack lands. A successful parry prevents damage, costs no Endurance, and deals heavy damage to the enemy's Posture.
- Dodge red-glowing attacks instead of attempting an early melee block or parry. These attacks are unblockable, making the red glow your cue to evade.
- Perform a Critical Attack when the enemy's Posture breaks. Melee hits and parries build the bar, with parries building it faster, so successful defence creates a powerful attack opportunity.
- Stop attacking briefly when Endurance runs low. Attacking, dodging, blocking, and sprinting all use it, while leaving time between actions allows it to regenerate.
Holding block still costs Endurance and lets damage through, so it can gradually wear you down. Damage taken while blocking can be recovered by landing melee hits soon afterward. Take that recovery opportunity when an opening appears, without forcing an attack into an unfinished combo.
Choose equipment that forgives mistakes
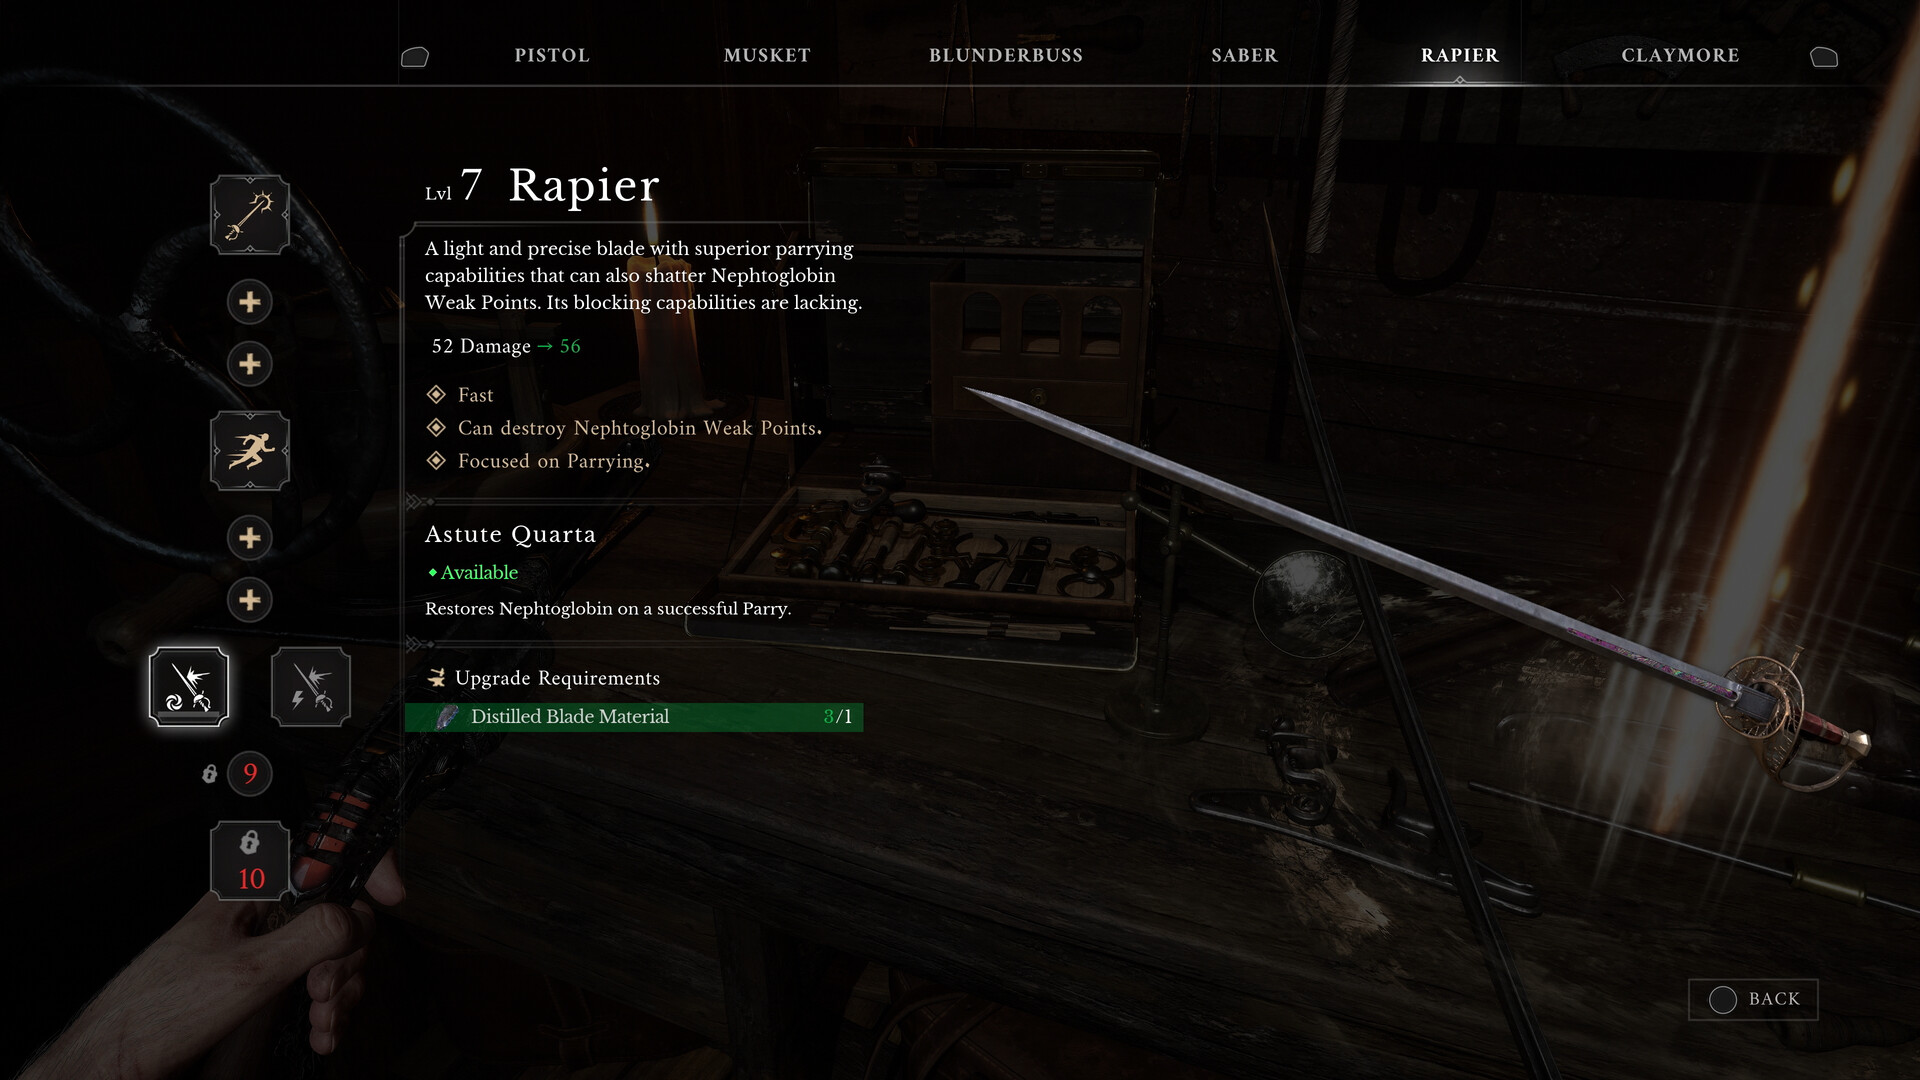
While learning a fight, favour equipment that helps you survive another mistake. The Saber supports both blocking and parrying, while the Rapier suits more confident parry timing. Add Ambers that improve timing or restore Health before chasing a riskier damage setup.
| Option | How it helps |
|---|---|
| Saber | Can block and parry, giving you both defensive options while learning attack timing. |
| Rapier | Perfect parries deal more Posture damage than the Saber's, but it cannot block attacks properly. |
| Duellist's Focus | Widens the melee parry window, helping when your defensive inputs are narrowly mistimed. |
| Iron Grip | Makes Ferrofluid Flask use faster and prevents it from being interrupted. |
| Dominatus | Restores Health when you perform Critical Attacks, adding healing to your posture-break routine. |
- Equip your chosen Ambers through the Levelling menu at a Lantern. This lets you adjust your passive effects before another attempt.
- Leave Glass Soldier unequipped while incoming damage is ending your attempts. Its melee damage benefit comes with increased damage taken.
- Keep Butcher's Carnage and Life Diverted unequipped if you want normal flask healing. Butcher's Carnage disables it, while Life Diverted makes flasks restore Nephtoglobin instead of Health.
Improve healing before another attempt
Ferrofluid is your primary healing source. Power Upgrades increase the healing from each use, while Quantity Upgrades increase your available uses between rests. Apply collected flask upgrades at a Lantern so the pickups become useful for your next fight.
- Collect the Empty Ferrofluid Flask beside Valley of Ashes > The Climb. After the bridge platforming section, its chest is to the left of the next Lantern; the flask increases healing capacity.
- Loot the Power Upgrade beside the well at Fallen Village > Fields. The chest is near the large house on the branch opposite the wooden gate guarded by a Grenadier, along the shortcut back toward the prior Lantern.
- Prioritise Maximum Health when repeated mistakes kill you too quickly. For a parry-focused approach, Parrying Impact increases the Posture damage of successful parries; Healing Effectiveness improves healing.
Get past General Lothaire
The opening encounter with General Lothaire in Chapter 1: Revival is intended to be lost; the later victory comes in Chapter 2: Regroup. Let an opening defeat move the story forward. If the demo discouraged you, its Lothaire fight arrived with less time to practise and level than the full game's intended boss encounter.
- Ignite Lothaire with Fire Transmutation. This establishes the burning damage that accompanies the weak-point and stagger approach.
- Shoot the weak points on his body with the Pistol. These hits build stagger, with melee attacks and parries able to fill the remainder for a powerful stun attack.
- Dodge his shoulder-gun shots when the gold flash has almost disappeared. He can fire after a melee combo, so a pause in his swings does not always mean it is safe to attack.
- Repeat the Fire and weak-point approach after his transformation. His weak points return, while his large arm introduces additional unblockable attacks, including a dangerous grab.
Use return trips to prepare
Lantern fast travel becomes available after Chapter 2, allowing return trips for missed equipment and upgrades. Some routes require traversal abilities obtained later, so an inaccessible pickup does not mean you should force your way through immediately. Ferrofluid upgrades remain collectible after the story.
Leave The Emissary's poison-cloud route until you obtain Shield Transmutation at the university. That ability lets you cross the poison and return to the quest. Continuing the campaign is the prerequisite here, rather than spending healing on repeated attempts through the clouds.
- Spend available Catalysts on useful levels before another difficult attempt. Lanterns provide levelling, so returning there can turn your current resources into lasting character improvements.
- Recover dropped Catalysts before taking another major risk. Dying again before retrieving them permanently loses the dropped amount.
- Rest at a Lantern when you need to reset your preparation. Resting restores Health and Nephtoglobin, but also brings regular enemies back along the route.