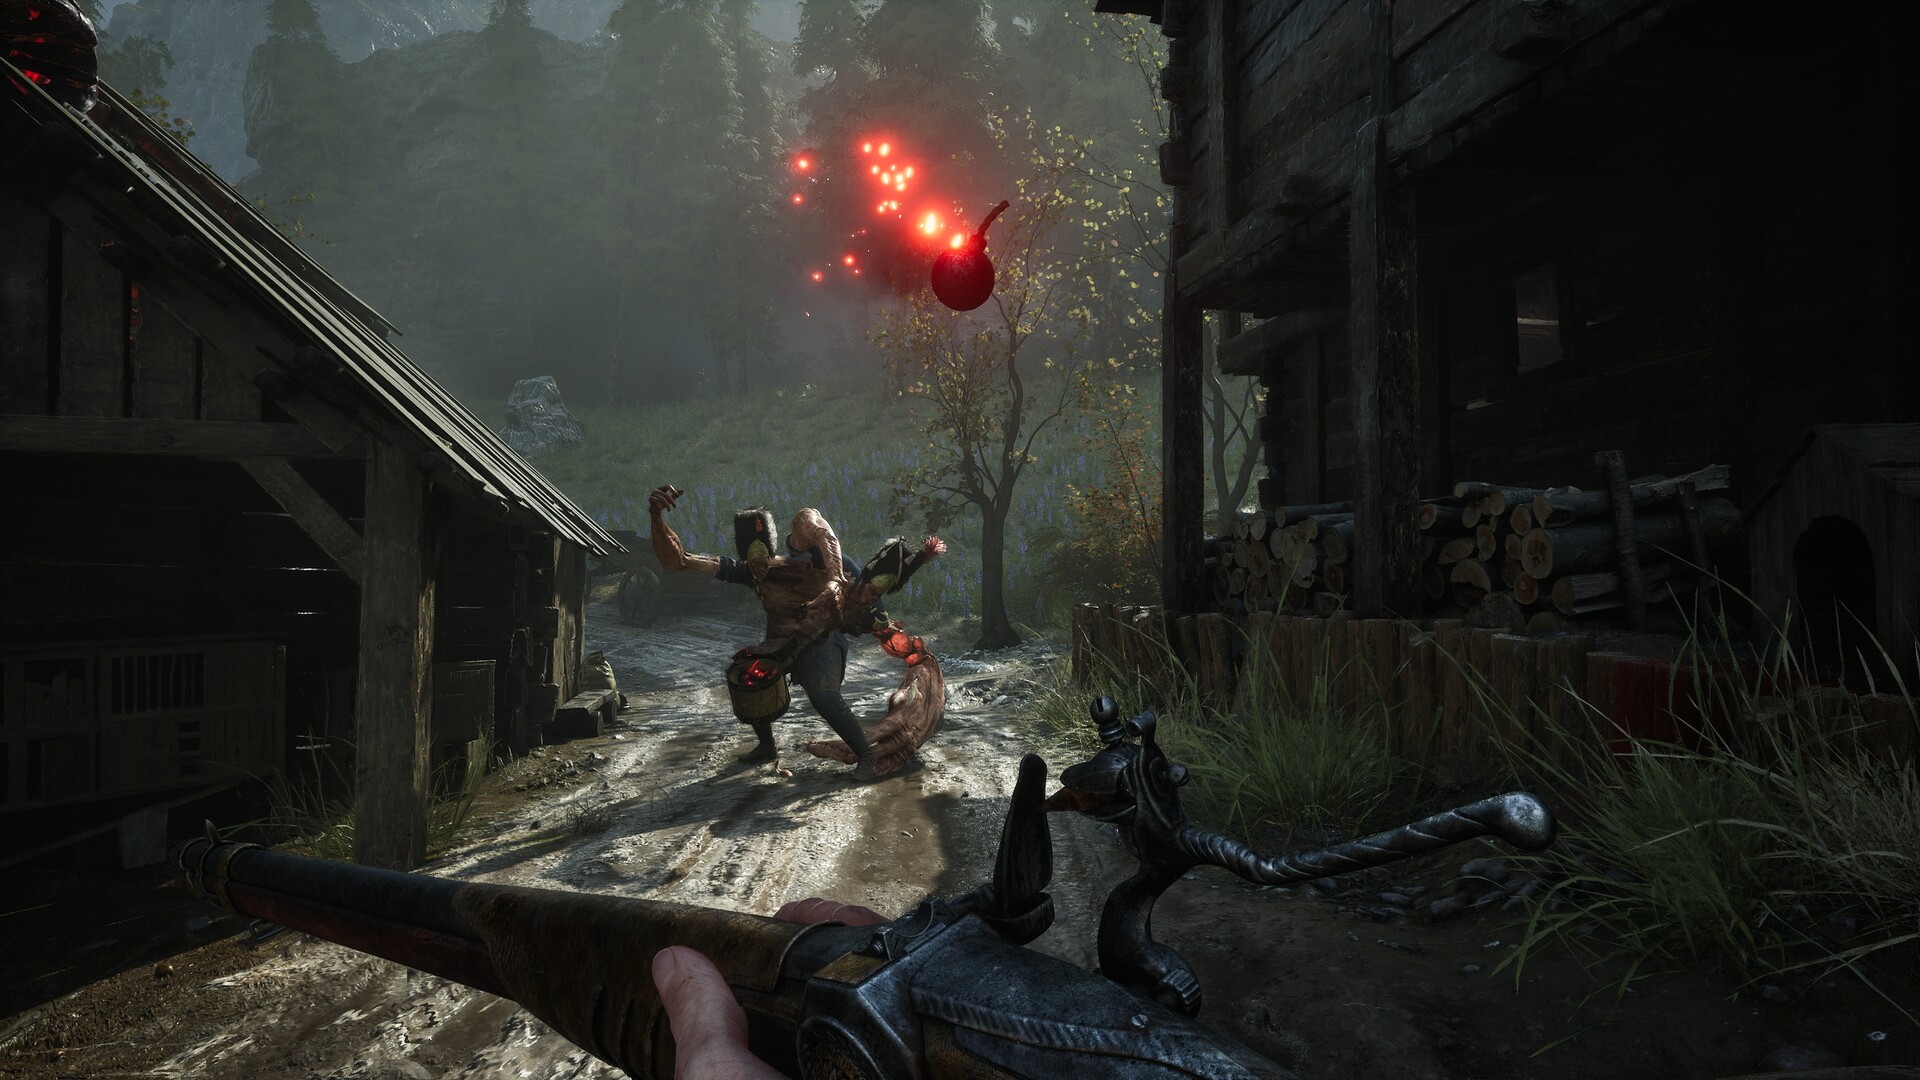
Get the Blunderbuss in Fallen Village
You get the Blunderbuss during Chapter 3: Rendezvous, on the route from Fallen Village > Fields: defeat the Volunteer carrying a large sword, then collect the gun from the table inside the carriage behind it. Use it at close range against grouped enemies or exposed weak points.
Follow the Fields Route to the Carriage
- From Fallen Village > Fields, continue along the progression route until you reach the Volunteer wielding a large sword. This enemy is your landmark for the pickup.
- Defeat the Volunteer and enter the carriage behind it. Look on the table inside for the Blunderbuss.
- Pick up the weapon to open the route through the opposite side of the carriage. Collecting it is required before you can continue.
Fight at Close Range and Watch Your Ammunition
The Blunderbuss deals full damage only within 3 m and can hit multiple enemies with a shot. It holds 2 shots and takes 3.5 seconds to reload. Close the gap during an opening, then retreat or switch to melee when reloading would leave you exposed.
The Musket and Blunderbuss share a 6-round special-ammunition pouch. James sells Special Cartridges after Chapter 5, providing 2 rounds for 300 Catalysts. Budget your shots across both guns and save the Blunderbuss for openings where its spread or close-range damage will count.
A Blunderbuss hit staggers its target for 0.7 seconds, giving you an opening for a melee follow-up. Against the Iron Marshall, shoot the explosive barrels to ignite it, then fire into the large weak point on its back while it is stunned or exposed. Hitting that weak point deals substantial health and stagger damage.
Every Blunderbuss Level and Upgrade
Upgrade the Blunderbuss at James's Iron Bench in the Abandoned Church. The table shows damage per pellet, the shot's damage cap and the material needed to reach each level. Treat the cap as a ceiling when planning a shot, since range and pellet placement still matter.
| Level | Pellet Damage / Shot Cap | Material Cost | New Upgrade |
|---|---|---|---|
| 1 | 15 / 150 | Story pickup | Base weapon |
| 2 | 16 / 170 | 1 Standard Firearm Parts | Showstopper: shots interrupt Unblockable Attacks. |
| 3 | 17 / 190 | 2 Standard Firearm Parts | — |
| 4 | 18 / 210 | 3 Standard Firearm Parts | — |
| 5 | 19 / 230 | 1 Superior Firearm Parts | Choose Collateral Damage for wider spread, or Iron Shower. |
| 6 | 20 / 250 | 2 Superior Firearm Parts | — |
| 7 | 22 / 270 | 3 Superior Firearm Parts | — |
| 8 | 24 / 290 | 1 Exquisite Firearm Parts | Nephtoglobin Infusion — Grenade |
| 9 | 26 / 310 | 2 Exquisite Firearm Parts | — |
| 10 | 30 / 350 | 1 Masterwork Firearm Parts | Back-Breaker: doubles posture damage from behind. |
Choose Collateral Damage when your priority is catching a packed crowd. Showstopper also makes the weapon useful for interrupting Unblockable Attacks. With Back-Breaker unlocked, look for opportunities to circle behind an enemy before firing.
Where to Collect Masterwork Firearm Parts
Masterwork Firearm Parts pay for the final upgrade and are not sold by merchants. Collect them from the chests below. Bring Shield Transmutation for the routes through poison.
| Lantern | Route to the Chest |
|---|---|
| City of Orphans > Sewers | Open the door in the circular room with the Sewers Key. Follow the left path, turn left at the swing bar and cross to the platform. Take the Sewers Master Key from the body to the left, then return to the Lantern and unlock the door beside it for the chest. |
| University > Main Hall | Return to the chandelier crossing used to reach Shield Transmutation. Take the opposite direction through the poison hallway and descend the elevator. Continue through the lower library into the lecture hall with hanging bodies; the chest is at the back beneath the balcony. |
| The Outskirts > Harbour | During The King of Smugglers, cross the poison to the side dock and enter the ship's hold. Defeat the miniboss for the Harbour Residence Key. Unlock the residence near the poison area, read Crusty Benek's Journal upstairs and loot the chest to its left. |
Ambers and Skills for Reloading and Ammunition
| Amber | Effect | How to Get It |
|---|---|---|
| Sleight of Hand | +20% reload and weapon-switch speed. | Complete An Unheard Farewell in Valley of Ashes. Telling the adjutant the truth awards this Amber. |
| Lucky Shot | Chance to keep ammunition: +10% / +15% / +20% at ranks I / II / III. | At Caverns > Last Sunlight, find the hole with a visible tunnel in the large enemy-filled cavern. Follow it to the chest near a Grenadier. |
| Sixth Sense | Increases firearm damage during Perfect Dodges; dodging bullets briefly slows time. | From City of Orphans > Tribunal Square, reach the burrow near the river. Climb the boxes to its left and follow the path around the building to the chest. |
Prioritize Ammo Restock for supply: each purchase adds 1 special round to Lantern restocks and 1 to special-ammunition capacity. Headshot Damage adds 5% headshot damage and 1 special-ammunition capacity per purchase. Ammunition Drop Chance adds 5% per purchase, while the repeatable Firearms Damage upgrade adds 1% firearm damage per purchase.
Take Airborne Aiming if you enjoy jumping shots; it slows time while aiming firearms in the air. Equip Ambers through the Levelling menu at a Lantern. Start with Lucky Shot and Sleight of Hand, then consider Sixth Sense if Perfect Dodges are a regular part of your fighting style.
Earn Scattershot at the Marketplace Barn
Scattershot requires killing at least 5 enemies with a single Blunderbuss shot. A level 6 Blunderbuss with Collateral Damage can complete it at the barn beside Fallen Village > Marketplace.
- Travel to Fallen Village > Marketplace and enter the barn directly in front of the Lantern. Entering triggers a group of 5 villagers to chase you.
- Stand in the barn doorway and block while the villagers gather around you. Wait until the group is tightly packed in front of the gun.
- Fire into the gathered group. If the shot does not kill all 5 enemies together, interact with the Lantern to respawn them and repeat the setup.