Finish the Escape and Reach the Finale
Recover your equipment and escape Napoleon's Prison, then choose the cave when speaking to Lucjan and interact with the stone door at Caverns > Ancient Lair to reach the final fight. Finish the prison's optional quests before leaving; the remaining collectible cleanup can be done before or after the ending.
Check the Prison Before Leaving
The prison's Lanterns are Prison and Burning City, and neither allows fast travel. Complete The Forgotten Fortune and The Choir during your escape because you cannot return to the prison afterward. If exploring without weapons is difficult, recover your equipment before returning for The Choir's clues.
Search the Cells and Recover Your Equipment
- Read the prisoner's note near the Prison Lantern for the hidden-treasure clue connected to The Forgotten Fortune.
- Burn the hanging body in the neighboring cell with Fire Transmutation to reveal the Silver Lockpick. Fire remains available while your weapons are missing.
- Unlock the nearby cell with the Silver Lockpick to collect an Eternal Catalyst Clot worth 5,000 Catalysts.
- Cross the rafters toward the center of the upstairs patrol hall and drop into the kitchen to reach the key's location.
- Pick up the Armoury Key from the kitchen table; it opens the armoury on the lower floor.
- Unlock the lower-floor armoury with the Armoury Key to recover your equipment before continuing the escape.
Complete The Choir During the Escape
- Pick up Prison Warden's Journal – Part One from the desk in the room with the horn, on the left of the escape route, to start The Choir.
- Interact with the door at the end of the long upstairs corridor beside the patrol-filled hall to advance the quest.
- Collect Prison Warden's Journal – Part Two from the table in the small room beside the Armoury Key's location.
- Take the Key to the Chapel from the table in the room containing a memory on the opposite side of the upper floor.
- Unlock the chapel door with the Key to the Chapel to access the room containing the prisoners' letter.
- Collect Letter to Headquarters – A List of Deceased Prisoners from the counter behind the bodies inside the chapel.
- Follow the escape route through the sewers until you emerge back in the city beside the Lantern.
- Place the letter on the noticeboard beside the Lantern to complete The Choir and receive Remnant's Return and 6,000 Catalysts.
Collect Ambers, Materials and Flask Upgrades
Use Shield Transmutation for the poison-covered routes below. These detours revisit places that were blocked earlier, particularly The Emissary's camp and the smuggling route. You can leave this cleanup until after the final fight if you want to see the ending first.
| Item or Quest | Route and Collection Point |
|---|---|
| Perfect Copy and The Emissary | At Valley of Ashes > The Other Side, cross the poison to the camp and inspect its note and body. Shoot the train-car weak point, using the cliffs for an angle if needed. Open the chest in the tent immediately right for Perfect Copy, then inspect the red cloth by the blocked gate to finish the quest. Earlier clues are the Emissary's Seal and the Emissary's Letter after Slaughtermill. |
| Butcher's Carnage at Ship Graveyard | From Vale of Wrath > Ship Graveyard, grapple back toward the village and turn right into the poison field. Follow the path to the balcony immediately on your left and open its chest. |
| The King of Smugglers, Masterwork Firearm Parts and Butcher's Carnage | Collect Toothless Jack's Journal beneath the pier and the Cargo Manifest on the crates along the Ship Graveyard poison route. At The Outskirts > Harbour, cross the fog to the ship, collect Crusty Benek's Torn Letter in the hold, and defeat the miniboss for the Harbour Residence Key. Read Crusty Benek's Journal upstairs in the residence and loot the nearby rewards. |
| Adrien Cassell's Emblem for The Oathbound | From City of Orphans > Shamble Street, take the large shortcut gate toward the river, then turn left toward the ramp. Cross the poison at its lower-left side with Shield, climb into the house, and shoot the weak point. Defeat the Eternal Guardsman beyond it for the emblem and Mysterious Stone Pyramid. |
| Empty Ferrofluid Flask and Quintessential Blade Material | Once the Oathbound emblems produce the Mysterious Stone Slab, return to Fortress > Courtyard. Open the wall bearing the Oathbound symbol opposite the Guardsman's route and read the table note. The flask is in the chest left of the table; the blade material is in the chest to its right. |
| Ferrofluid Flask Power Upgrade from Seamus | At Cursed Hollow > Silent Cannons, reach Seamus's window using the wallrun route. Collect blood from the dead pig or wine from the barrel in the shack with hanging animals, then return to his window. Either bottle earns the flask upgrade. |
Final Boss Spoilers: Enter the Finale
Spoiler warning: the remaining steps identify the final boss and describe how its fight changes.
- Apply your collected Ferrofluid upgrades at a Lantern before heading into the finale.
- Choose to go to the cave when speaking to Lucjan to arrive at Caverns > Ancient Lair.
- Interact with the stone door at the end of the area to begin the final boss fight against The Entity.
Defeat The Entity
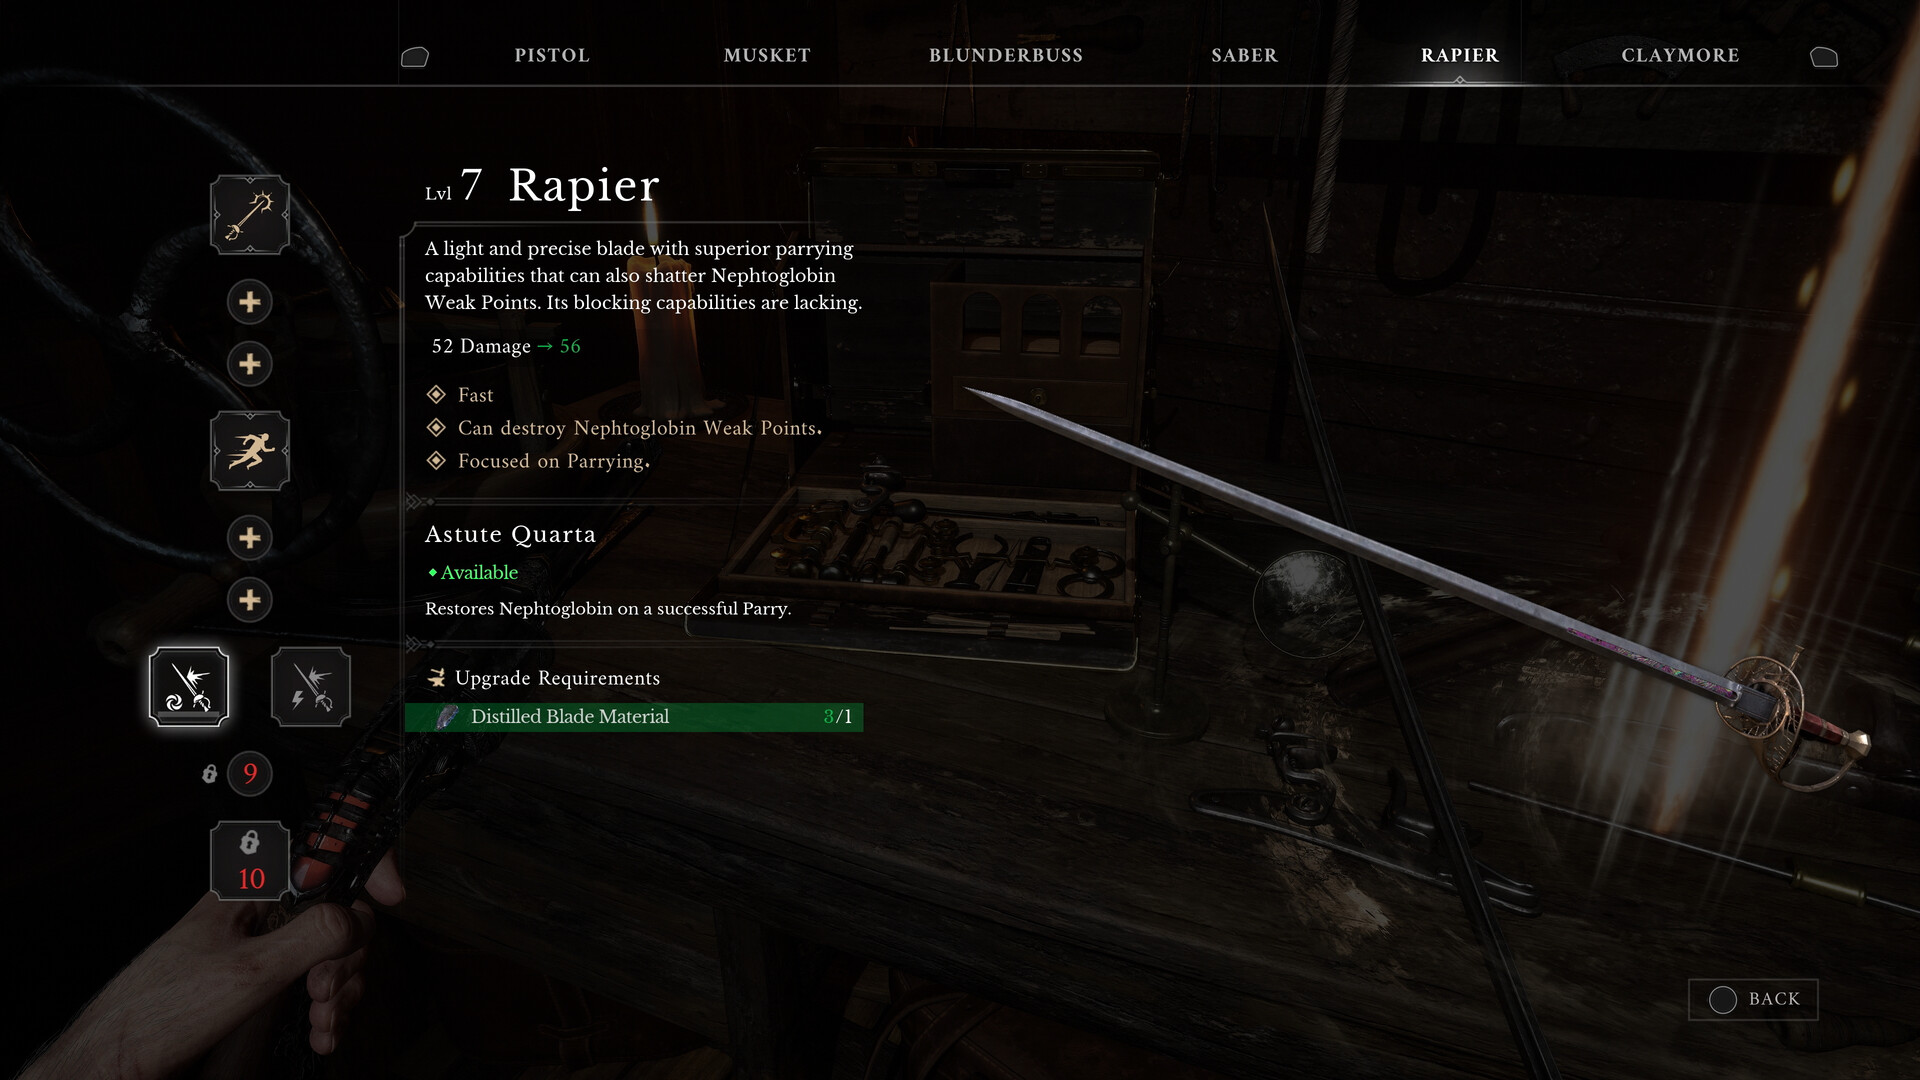
The Entity has two phases with separate health bars. Parrying its sword strings builds toward stagger attacks, while Fire provides damage between those openings. Bring a weapon that supports parrying if you intend to follow this approach.
- Parry the opening phase's sword combinations to stagger The Entity and create an opening for a stun attack.
- Ignite the boss with Fire between combinations, backing away during the cast before returning to parry.
- Dodge the incoming tentacles after its distant teleport, and watch for the gun stance that signals repeated shots instead.
- Destroy the summoned clones with Pistol shots or Fire so they cannot surround you during the opening phase.
- Shoot the clones appearing during the airborne speech between phases, collecting dropped Pistol ammunition when you need it.
- Dodge the later phase's Claymore attacks rather than relying on their earlier parry timing; these attacks become predominantly unblockable.
- Dodge sideways past the returning boss-shaped clones, then strike them to remove them while watching for the expanded tentacle attack.
Return for Anything Still Missing
After the ending, you return near the final Lantern and can revisit earlier regions for remaining collectibles and achievements. The cleanup routes above can therefore wait until the story is finished. Keep the prison exception in mind: The Choir and The Forgotten Fortune belong to the escape itself and should be completed before you leave.