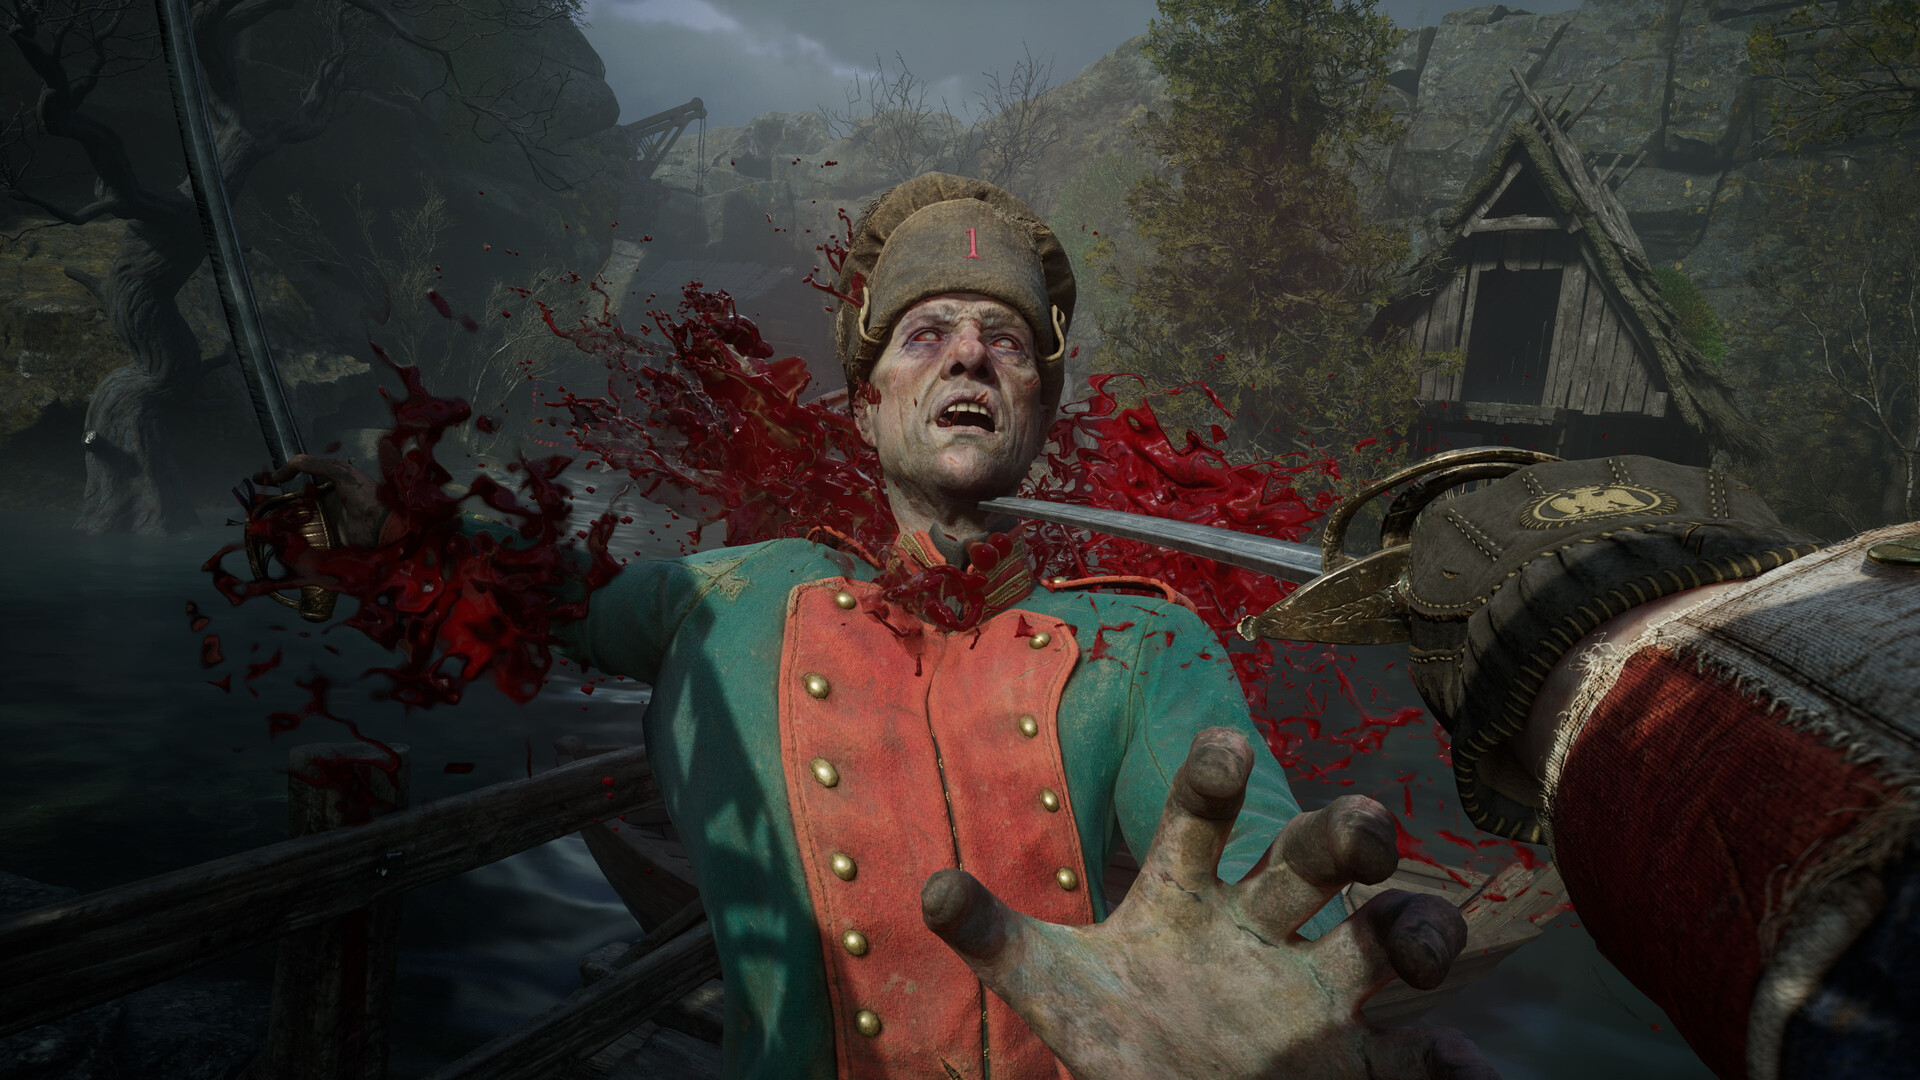
Complete Witch Hunt and Collect Its Important Items
Complete Witch Hunt by defeating High Justicar Aurelius and Experiment 83 in The Outskirts, then following the City of Orphans route into the sewers. Continue underground for the sewer keys, upgrade materials and Laboratory Key that opens the way toward the University.
Spoiler warning: the walkthrough below covers boss transformations, Laudanum outcomes and the meeting with the Shrike.
Follow the Lanterns Through The Outskirts
Follow Broken Bridge, Breach, Island of Whispers, Market Square, Lighthouse and Harbour through The Outskirts. Keep Fire, a firearm and your grapple ready for vines, weak points and gaps; apply collected Ferrofluid upgrades at a Lantern.
- Follow the wall jumps and grapple points beyond Broken Bridge toward High Justicar Aurelius.
- Parry Aurelius's sword combos to stagger him and open a window for melee damage.
- Ignite Aurelius with Fire Transmutation between his attacks to keep damaging him through both forms.
- Dodge his transformed form's unblockable jump when the strike arrives; its unusually long airborne delay can bait an early dodge.
- Explore Island of Whispers for the anthem and Laudanum quests before continuing through Market Square.
- Dodge beside Experiment 83's prolonged grabs at Lighthouse to reach its back during recovery.
- Shoot Experiment 83's weak points when an angle opens to build stagger; avoid forcing shots at its back in narrow corridors.
Find the Missing Verses of the Shrike's Anthem
- Read the note beside the wooden shrine beyond Island of Whispers to begin the quest.
- Visit the burrow inside the building left of the shrine, beyond the gap and breakable boxes, for a verse.
- Visit the burrow through the low wall opening inside the barn across the bridge for another verse.
- Reach the attic burrow using the white-marked house facing the water to hear another portion.
- Cross the beams beside the onward path in the shortcut-door building to reach the final burrow and earn a Tiny Whisker Gift.
Complete Laudanum and Get Potent Concoction
- Speak through the brown door on the right before the weak point that opens the Island of Whispers shortcut.
- Agree to help the children at the other wooden door around the building if you want Potent Concoction; this choice locks immediately.
- Retrieve Laudanum from the bedroom beneath the floor opening upstairs in the house beyond Market Square's poisoned approach.
- Deliver the bottle to the woman; agreeing to help the children makes it Poisoned Laudanum.
- Revisit the house after resting at a Lantern: on the poisoned route, read the child's diary upstairs to finish and collect Potent Concoction.
Pick Up Ambers, Ferrofluid and Upgrade Materials
| Pickup | Where to collect it |
|---|---|
| Dominatus | Broken Bridge: chest above the platforms left of the wall jumps. |
| Ferrofluid Flask Power Upgrade | Breach: chest on the descending slope immediately beyond Aurelius. |
| Surplus | Island of Whispers: chest halfway along the long road, on the left. |
| Glass Soldier | Market Square: shoot the growth in the building behind the Lantern, then climb the crate inside to the elite enemy. |
| Lunatic's Grasp | Market Square: take the barn's side route and cross the boats to the chest. |
| Empty Ferrofluid Flask and Distilled Transmutation Material | Market Square: shoot barrels through the larger house's window; the upstairs chests hold these upgrades. |
| Quintessential Blade Material | Lighthouse: side laboratory chest after defeating Experiment 83. |
| Sixth Sense | Tribunal Square: climb boxes left of the riverside burrow and follow the building around. |
| Bottomless Well and a Ferrofluid Flask Power Upgrade | Tribunal Square: take the opposite route from the upstairs weak-point window to the courtyard miniboss and chest. |
| Life Diverted | Shamble Street: chest directly on the building's exit route. |
| Silent Squeak | Shamble Street: rooftop burrow above the room reached by grappling across the courtyard. |
| Bountiful Harvest | After the Shambling Civilians drawing: elite enemy near the ladder shortcut right of the statue. |
| Ferrofluid Flask Power Upgrade | City streets: central chest in the open area before the tower, near the cannon enemy. |
| Ferrofluid Flask Power Upgrade | Sewers: grapple left from the circular room toward the prone exploding enemy, then across to the chest room. |
Finish the City Side Quests
- Accept Bedtime Stories at the burrow upstairs immediately beyond Tribunal Square's burning-wood tunnel.
- Collect the storybook from the basement shelf beneath the upstairs trapdoor in the box-filled building.
- Read the returned book to the children, using the shortcut behind the injured man to reach them; reading earns two Tiny Whisker Gifts instead of one.
- Speak to the man strapped to wood near Shamble Street's shortcut stairs to begin Misericorde.
- Shoot the attic weak point from the nearby building's exterior upper walkway to prepare Misericorde's final interaction.
- Return to the injured man to complete Misericorde and receive Remnant's Return.
Collect Every Monster Hunt Drawing
Collect all 17 drawings across Tribunal Square, Shamble Street and the sewers to earn Quintessential Transmutation Material and The Book of Beasts.
| Drawing | Route landmark |
|---|---|
| Lancer | Tree beside the Tribunal Square Lantern. |
| Risen Soldier | Wall around the corner from the riverside burrow. |
| Howler | Left, then right into the dead end after the burning-wood tunnel. |
| Volunteer | Wall left of the upstairs ramp in the box-filled building. |
| Eternal Guard | Alcove after turning left twice outside that building. |
| General Lothaire | Cart boxes left beyond the burning tunnel after the tentacle-arm enemy. |
| Sapeur | Large room beyond the poison drop in the Neptho-wall building. |
| Slaughtermill | Inside the cabinet in the right-hand room after the courtyard grapple. |
| Swarm Mother | Right-hand balcony corner atop the building near the injured man. |
| Shambling Civilians | Pillar beside the stairs left of the ramp into another burning tunnel. |
| Remnant of the Iron Regiment | Pillar around the building's front-right corner beyond the open-area chest. |
| Sphinx | Pillar right of the sewer building after the tower zipline. |
| Grenadier | Right wall across the sewer opening with the ceiling blob. |
| Carrion | Right wall in the poisoned lower sewer, beneath the shortcut tunnel. |
| Unknown Monstrosity | Left wall by the locked gate, right after the keyed-door grapple. |
| Abomination | Left wall beside the round tunnel at the branching sewer path. |
| Unknown Figure | Right around the waterside corner after emerging outside. |
Open the Sewers and Reach the University Route
- Accept Mummy and Daddy at the burrow opposite the Sewers Lantern to receive Cheese.
- Collect the Sewers Key from the chest down the left-hand ladder at the branching path; it opens the circular room's door.
- Burn the vines left of that chest to reach the burrow beside the cell; leave the undead unharmed to preserve Mummy and Daddy.
- Activate the music box through the box-hidden crawlspace in the room right of the cell to calm the parents.
- Place Cheese on the cell's plate to prepare the final burrow conversation, which awards a Tiny Whisker Gift.
- Collect the Sewers Master Key from the body left of the swing-bar platform on the later left branch.
- Unlock the door beside the Sewers Lantern with the master key to collect Masterwork Firearm Parts.
- Meet the Shrike at the end of the route to receive the Laboratory Key and access the University.
Return With Shield for the Poisoned Side Routes
Return after obtaining Shield Transmutation in the University to cross the longer poison routes. Missed Ferrofluid upgrades can also be collected after the story.
| Return route | What to do and collect |
|---|---|
| The Oathbound at Shamble Street | Take the river shortcut and left ramp into the poison. Beyond the house's weak point, defeat the Guardsman for Adrien Cassell's Emblem and a Mysterious Stone Pyramid. |
| The King of Smugglers at Harbour | Collect Toothless Jack's Journal beneath the Ship Graveyard pier and the Cargo Manifest. At Harbour, cross the fog to the ship, collect Crusty Benek's Torn Letter and defeat the miniboss for the Harbour Residence Key. The residence journal completes the quest; nearby loot includes Masterwork Firearm Parts and Butcher's Carnage. |