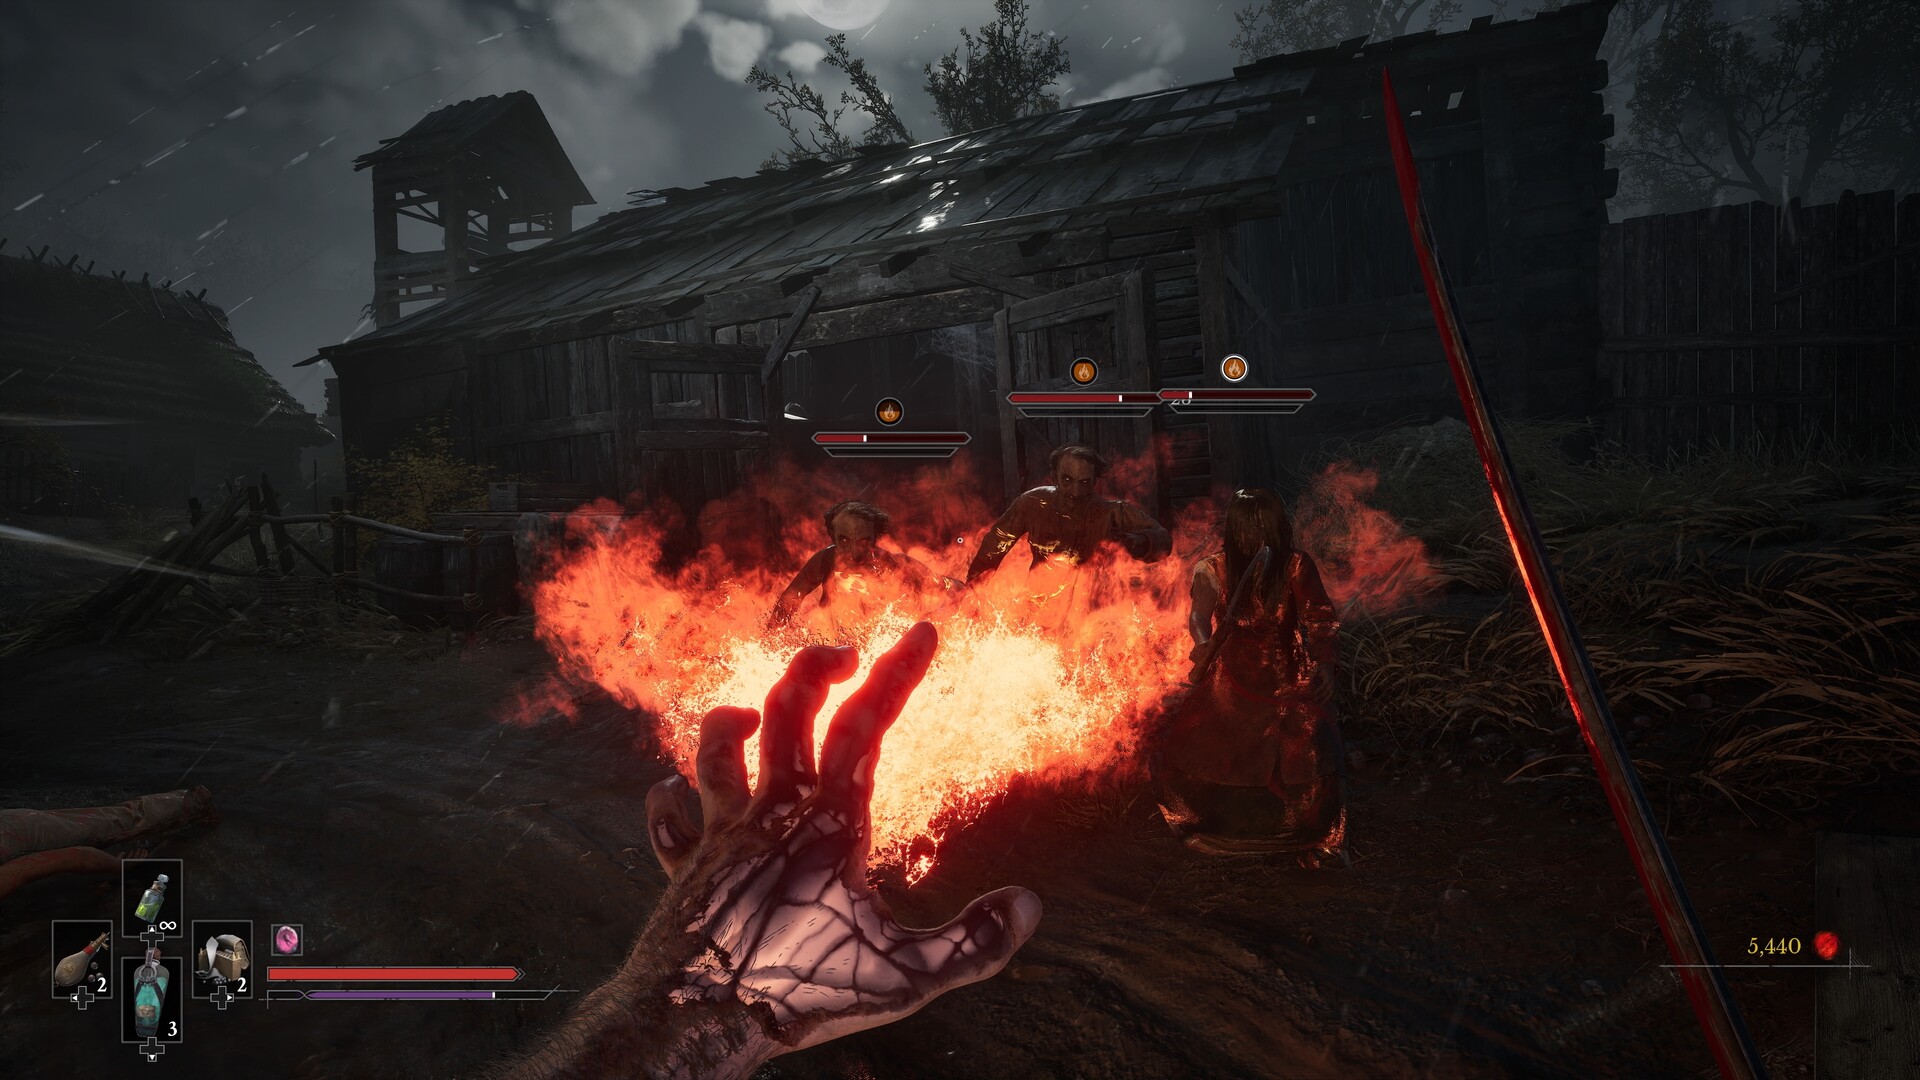
How to Beat Sphinx
Defeat Sphinx by parrying its regular claw swipes, dodging the purple pillars and jumping impact, and shooting its exposed face after the mask breaks. The fight has two phases with separate health bars, so keep your attention on the boss when the opening bar runs out. In the later phase, retreat immediately when Sphinx raises its head and releases bugs: their Poison buildup is lethal when the meter fills.
Where to Find Sphinx and What to Bring
Defeat The Iron Marshall in Chapter 3: Rendezvous to advance toward the Caverns. Sphinx is the mandatory boss at the end of Chapter 4: Dark Descent, with Ancient Lair as a nearby Lantern landmark. On the way, you obtain Stasis through story progression after using the first crank to turn the rotating walkway near Weeping Ledge.
- Choose the Saber or Rapier for the claw exchanges. Both support parrying; the Saber also lets you block, while the Rapier requires you to rely on parries for that defence.
- Keep the Pistol ready for the floating orb and the exposed face later in the fight. It gives you a way to counter the orb and deal damage when Sphinx moves out of melee range.
- Equip Duellist's Focus if you already have it and want help with claw timing. It widens the melee parry window, making it a useful choice while you learn the encounter.
- Equip Dominatus if you want your Critical Attacks to restore Health. That healing fits the same parry-and-stagger approach you will use to damage Sphinx.
Opening Phase: Claws, Pillars and the Tail Orb
Sphinx's claw attacks build Stasis if they hit you or you block them instead of parrying. Once Stasis fully takes hold, your stamina bar is significantly reduced until it wears off. Make claw parries and melee openings your main damage plan; fire can ignite Sphinx, but the burn is brief and less effective here.
- Parry each regular claw swipe as it lands. A successful parry avoids the Stasis buildup from taking or blocking the hit and helps push Sphinx toward a stagger.
- Land melee hits between Sphinx's attacks. These openings let you chip away at its health while adding to the Posture pressure created by your parries.
- Dodge sideways out of the purple pillars' path. They travel toward you in a straight line, so clearing that line is the response to watch for when Sphinx switches away from its claws.
- Dodge away just before Sphinx lands its jumping attack. The impact is unblockable, so save your response for the landing instead of trying to parry it.
- Shoot the airborne orb when Sphinx raises its tail to create it. The orb changes from red to purple before falling, and destroying it in the air prevents the ground wave.
- Jump over the spreading wave if the orb reaches the ground. This gives you a way through the attack even when you miss the chance to shoot the orb.
- Use a Critical Attack when Sphinx's Posture breaks. This converts the stagger earned through parries and melee pressure into a large burst of damage.
Later Phase: Face Shots and the Bug Swarm
The next phase knocks off Sphinx's metal mask and exposes a weak point on its face. Its claw attacks remain relevant, but the added ranged attacks mean it will not always stay close enough for melee. Keep the Pistol available so those gaps become chances to damage the face.
- Move to either side of the purple beam as you approach Sphinx. It commonly jumps away and fires this beam near the start of the phase, so clear its line before closing the distance.
- Shoot the exposed face with the Pistol while you have a clear opening. If you are safely outside the beam's path, its firing animation can give you an opportunity for these weak point shots.
- Back away as soon as Sphinx lifts its head and starts spewing bugs. The swarm inflicts Poison, and a full Poison meter kills you instantly, making retreat the priority over another hit.
- Parry the regular claw swipes when Sphinx returns to melee range. The same claw defence and melee damage plan from the opening phase still applies here.
- Fire the Blunderbuss into the exposed face if you already have a close opening in front of Sphinx. A close-range shot can deal substantial damage without requiring you to abandon the parry-focused approach.
Retrying After a Death or a Stuck Fight
If Sphinx defeats you, you respawn at the last Lantern you rekindled and leave your Catalysts where you died. Recover them before another death, because dying again before retrieving them loses them permanently. Spending what you can before returning helps keep the next attempt focused on learning the fight.
If the fight or its aftermath stops progressing, install the available game updates before retrying. Updates have addressed Sphinx stopping its attacks after a fire stagger, the battle ending after its opening phase, and a saving problem after the Chapter 4 boss cutscene. For a persistent progression lock, the support team can provide replacement save files for each chapter.
Rewards and the Next Chapter
Defeating Sphinx unlocks Not a Cat Person and advances the mandatory campaign. The boss awards 20,000 Catalysts. The campaign continues with Chapter 5: Crime in the Vale of Wrath.