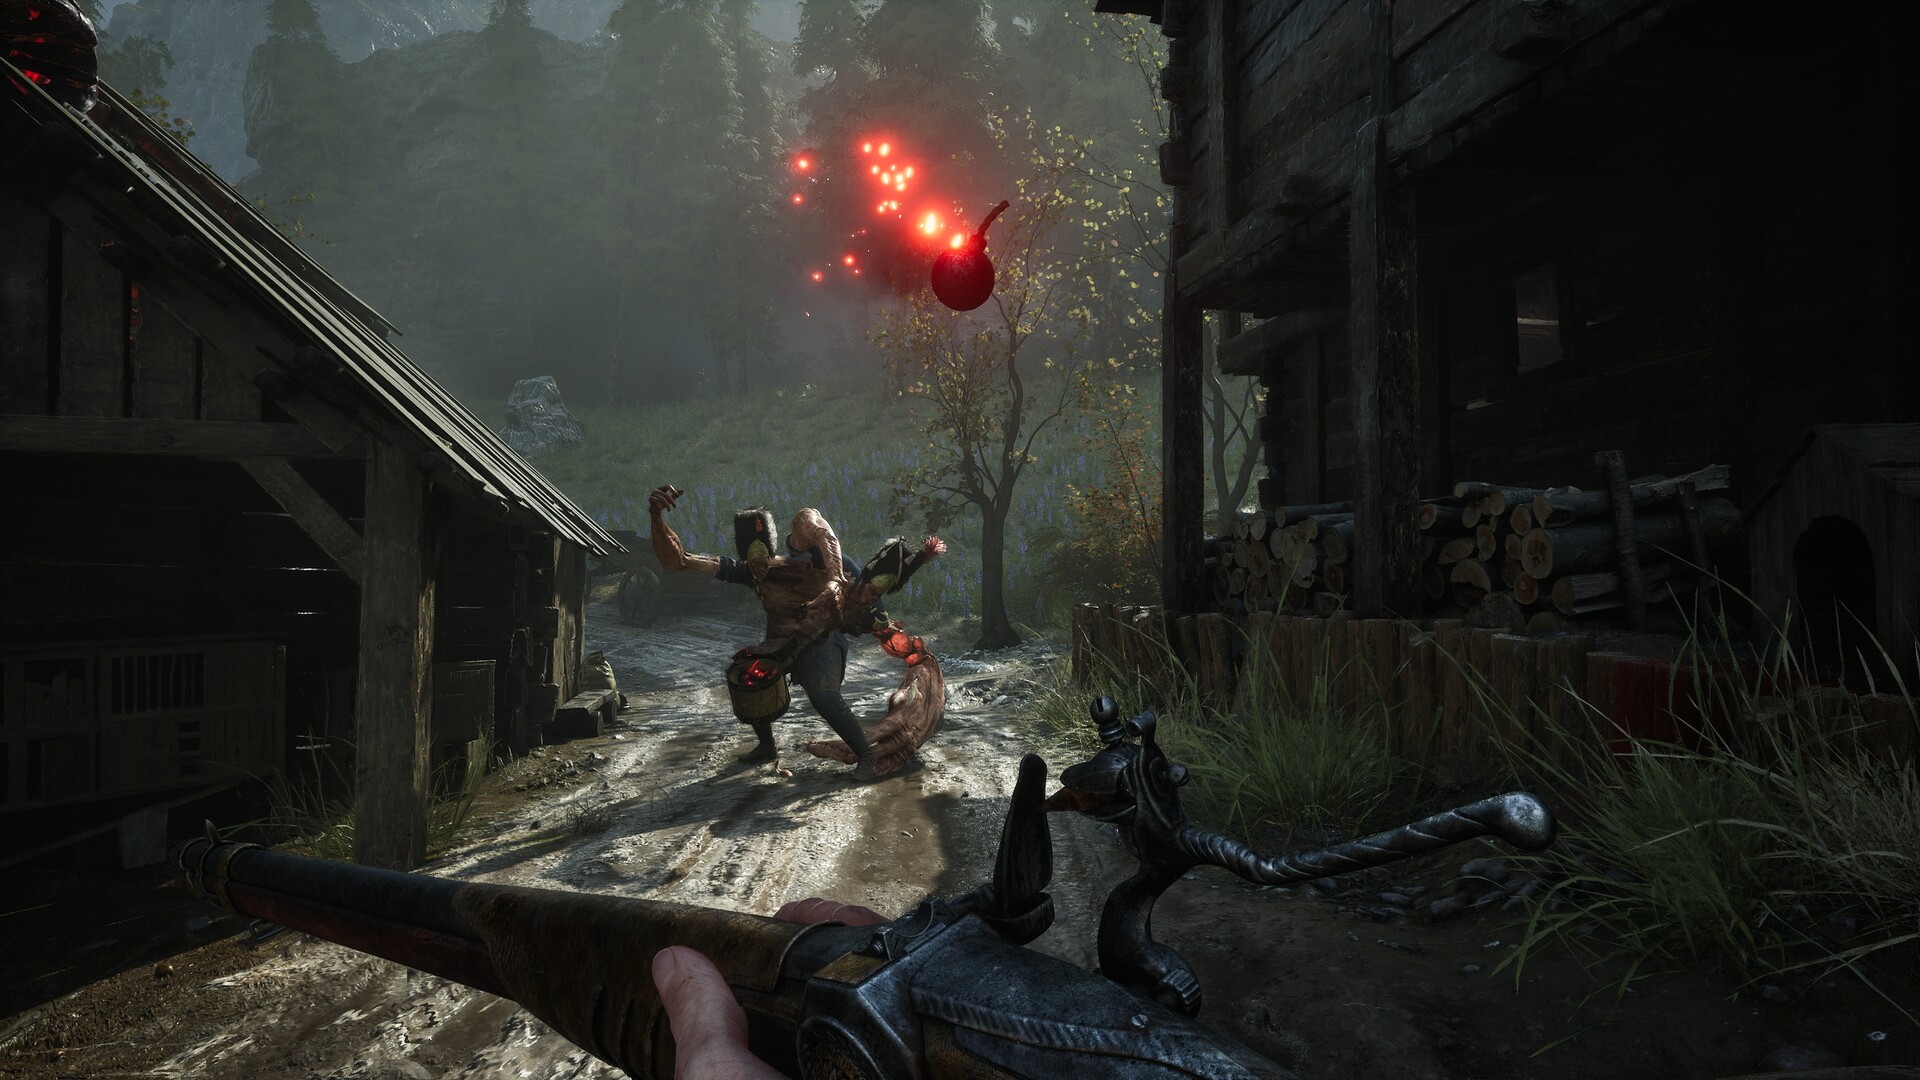
Dodge the grab and attack during its recovery
Defeat Experiment 83 by dodging sideways past its long unblockable grabs, attacking from behind while the animation continues, and shooting exposed weak points to build stagger. Add Fire Transmutation to exploit its fire weakness, then use a Critical Attack when its Posture breaks.
Find the encounter near the Lighthouse Lantern
Experiment 83 is a mandatory story boss in The Outskirts, encountered after High Justicar Aurelius during Chapter 7: Witch Hunt. The Lighthouse Lantern is the nearby landmark to use when preparing for the encounter. Rekindle it before fighting so your return point is close if an attempt goes wrong.
Prepare a firearm, Fire and your preferred blade
Bring a firearm for the boss's two weak points and choose a blade whose defence matches your approach. The Saber can block and parry, while the Rapier supports a parry-focused approach but cannot block properly. The Claymore cannot parry, so choose another blade if you want to turn the ordinary swipes into parry opportunities.
Equip Fire Transmutation to take advantage of the boss's extra vulnerability to fire. Stasis is resisted here, making Fire a useful offensive choice. If you already have Duellist's Focus, consider equipping it while learning the swipe timing because it widens your melee parry window.
Check your Ferrofluid upgrades if healing is the main obstacle between you and a successful attempt. Power Upgrades increase healing per use, while Quantity Upgrades increase the uses available between rests. Prioritise the improvement that addresses how your attempts are ending.
Work through the fight without chasing every opening
- Position yourself with room to dodge sideways, giving yourself a way beside the boss when it attacks directly toward you.
- Parry an ordinary melee swipe by pressing block as it lands, adding Posture damage while negating damage from that hit.
- Dodge sideways when the boss commits to a red-glowing grab, moving beside it while the lengthy attack animation continues.
- Attack from behind during the missed grab's remaining animation, using that opening to deal melee damage before returning to defence.
- Shoot an exposed weak point to add stagger damage, taking the available angle instead of forcing your way around the narrow hallways.
- Apply Fire Transmutation during an opening to exploit the boss's fire weakness and add burning damage over time.
- Perform a Critical Attack when the Posture bar breaks to turn your melee hits, parries and weak-point shots into a large damage opening.
Make weak-point shots support your defence
The rear weak point is difficult to hit because much of the encounter takes place in narrow hallways. Treat a clear shot as an opportunity rather than making every exchange about reaching the boss's back. The grab recovery already provides a useful opening for melee attacks, even when the shooting angle is awkward.
Critical Attacks are worth pursuing: they deal 1,000 damage against Experiment 83's 3,400 Health. Melee hits and parries build Posture, with parries building it faster. Keep looking for safe defensive responses that lead toward that opening instead of trading hits to finish the fight sooner.
Collect the victory rewards and side-lab chest
Defeating Experiment 83 unlocks Lament of the Limbs and advances mandatory story progression. The kill also awards 20,000 Catalysts. Before continuing, collect the Quintessential Blade Material in the nearby side lab.
- Enter the side lab in the boss area near the Lighthouse Lantern, where the notes provide a landmark for the chest.
- Open the chest to collect the Quintessential Blade Material before leaving the encounter area.
- Resume the Witch Hunt story toward the City of Orphans after collecting the nearby loot.
Handle failed attempts and recover your Catalysts
Death drops your carried Catalysts where you fell and returns you to the last Lantern you Rekindled. Recover them on your return if you want to keep them, because dying again before retrieval loses them permanently. Spend Catalysts before another serious attempt if you would prefer to reduce what you are risking.
If the grab keeps ending your attempts, focus on dodging beside it before adding a follow-up attack. If reaching the rear weak point keeps putting you in danger, take the clearer shooting opportunities and use the grab recovery for melee damage. This enemy type appears later in the game too, so learning that response remains useful beyond the boss encounter.