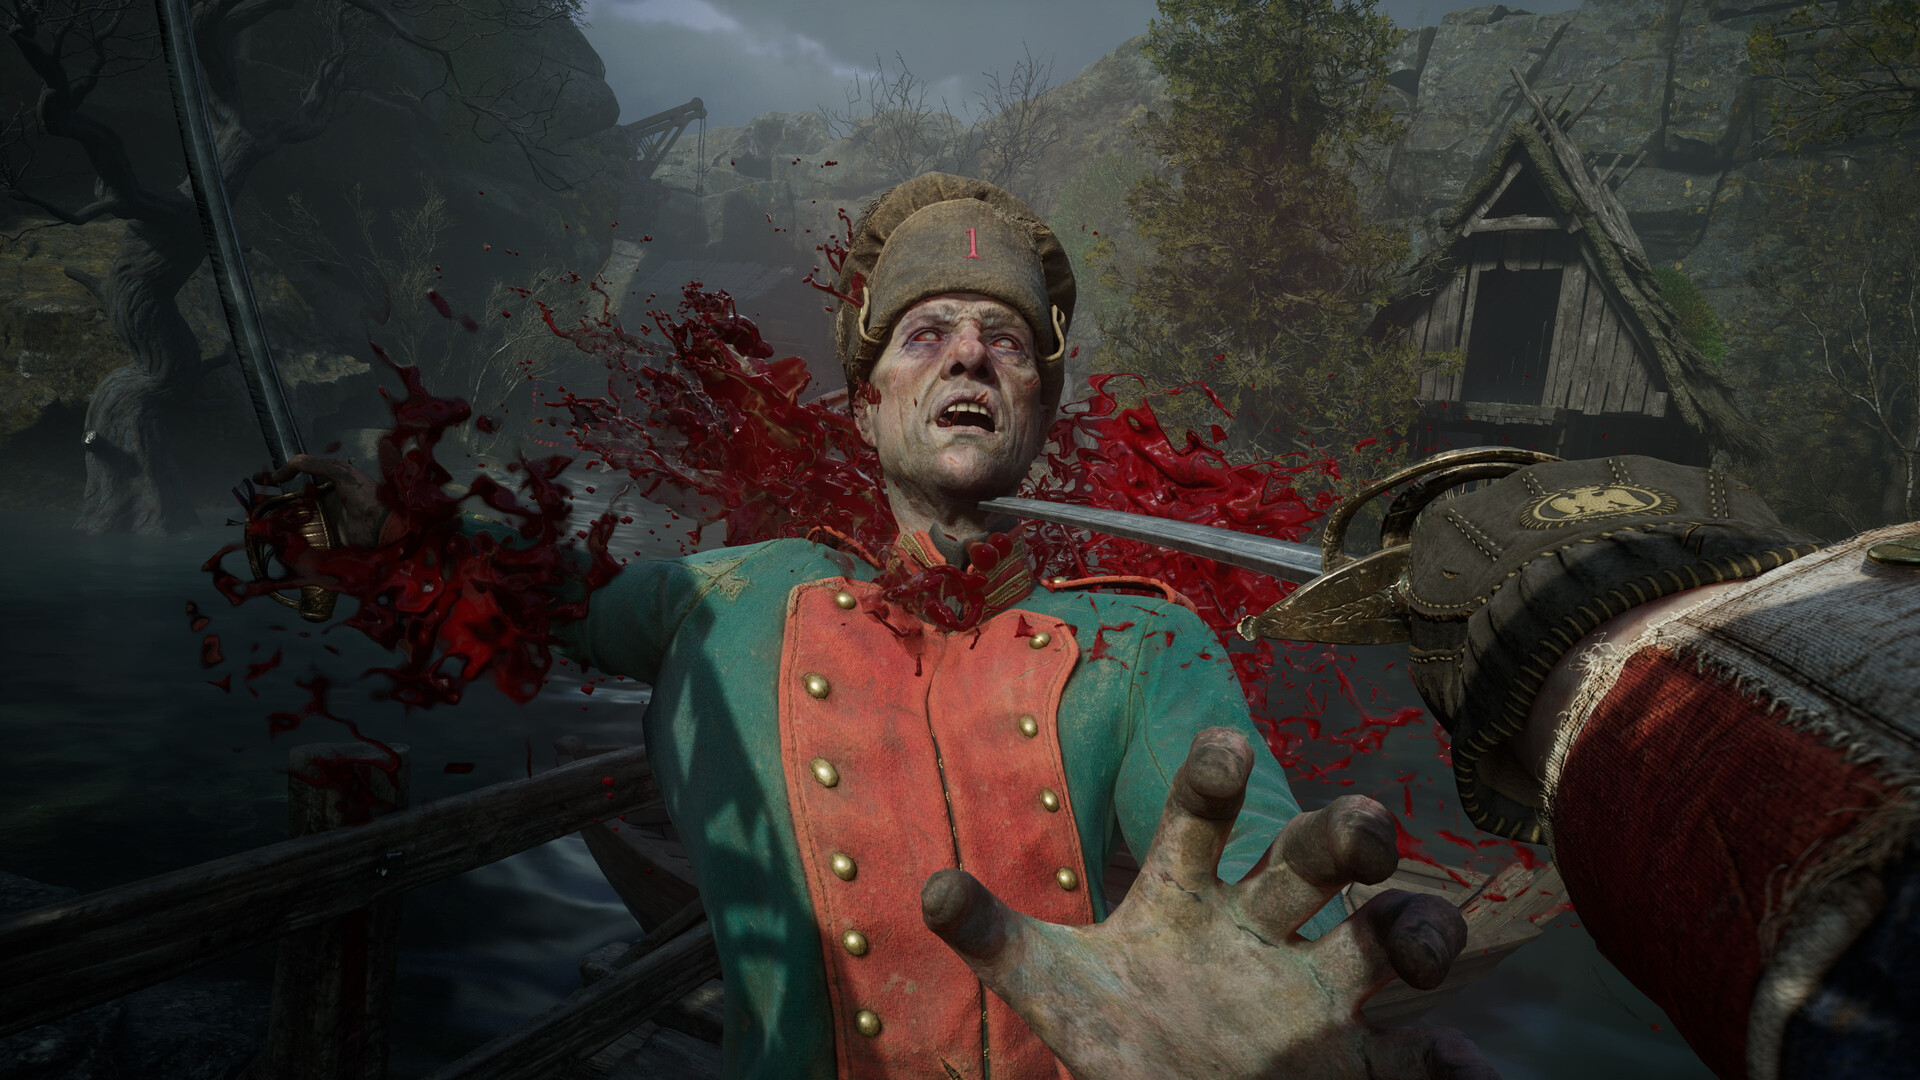
Shoot the Weak Points to Expose the Eye
Defeat Slaughtermill by shooting its exposed weak points, stopping its gears with Stasis and attacking the central eye when you gain access. Clear the outdoor sequences, survive the platforming route, then destroy the weak points on the ceiling tentacles to expose the final eye.
Reach the Old Windmill With Stasis Ready
Slaughtermill is a mandatory story boss at the end of Chapter 5: Crime in the Vale of Wrath. Old Windmill is the nearby Lantern to look for as you progress through the region. Earlier in the chapter, collecting the Musket is required to continue.
- Defeat the dual-sword Volunteer in the fort area reached from Under the Bridge to obtain the Wagon Key.
- Unlock the wagon in the middle of the fort area with the Wagon Key to access its interior.
- Collect the Musket from the table inside the wagon to satisfy the required progression pickup.
Keep Stasis ready for the windmill's gears and a firearm available for its exposed weak points. Bring the Blunderbuss for the large central eye inside the windmill. Slaughtermill has no Posture bar and takes no Critical Attack damage, so concentrate your damage on the exposed targets.
If healing is limiting your attempts, look for the Ferrofluid Flask Power Upgrade in the building reached by jumping across the bridge and entering through its roof near Under the Bridge. It is beside the gears you freeze with Stasis to keep the gate open. Ferrofluid power upgrades increase the healing restored per use.
Open the Windmill and Attack the Inner Eye
The opening field has tracking tentacles, spikes rising from the ground and summoned Carrion. Keep moving between shots so you can respond to the hazards around you. Defeat summoned Carrion when you need to regain ammunition for the weak points.
- Shoot the two weak points that appear on the tentacles to begin clearing the opening set of targets.
- Shoot the weak point exposed underneath Slaughtermill during its stomp attack to clear the next target.
- Grapple open the door at the bottom of the windmill to reveal the gears behind it.
- Apply Stasis to the exposed gears to stop the windmill spinning and make the next part of the door puzzle accessible.
- Grapple open the other door while the mechanism is stopped to reveal the final weak point in this set.
- Shoot the newly exposed weak point to complete the set of four; Slaughtermill will push you backward across the arena.
- Run back toward the windmill while avoiding the waves traveling along the ground to reach the grapple route.
- Take the grapple route up and around the windmill to reach its interior and the cluster of eyes.
- Shoot the eyes inside, using the Blunderbuss on the large central eye to deliver a strong hit during this damage opportunity.
Clear the Next Targets and Block the Fire
Slaughtermill ejects you outside after the interior attack. The next outdoor sequence adds exploding bodies thrown by the windmill while you work through another set of four weak points. Break off your aim when necessary to avoid an incoming body, then return to the exposed targets.
- Shoot the weak point in the lower door that previously exposed the gears to begin clearing the new set.
- Shoot the weak point on the windmill itself to remove another target before dealing with the sides.
- Shoot the two side weak points revealed when the tentacles extend to attack, completing the set and triggering another push backward.
- Activate the Nephtoglobin walls after the pushback to block the fire being driven toward you by the windmill.
- Advance to the front of the arena using the walls' protection to reach the transition into the platforming section.
Survive the Platforming Route and Finish the Eye
Reaching this section establishes a checkpoint, so a failed attempt here does not require repeating the earlier outdoor sequences. Falling during the platforming run deals damage and returns you to the start of that run. Exploding bodies on the landing platforms are more dangerous: leaving them intact can kill you instantly.
- Follow the path to the left, using its grapples and platforms to work around the area toward the final fighting platform.
- Shoot the exploding bodies on the platforms below before landing on them; there are two places where this is necessary to avoid instant death.
- Shoot the weak points on the tentacles holding the windmill to the ceiling from the platform in front of it. Clearing them exposes the central eye, while the launched tentacles remain a threat.
- Attack the exposed central eye until Slaughtermill's remaining health is depleted to finish the encounter.
Collect Your Rewards and Check the Exit Tunnel
Defeating Slaughtermill awards 30,000 Catalysts and unlocks Quixotry. The victory clears the mandatory story encounter and lets you continue the campaign. Before moving on, check the tunnel leaving the boss platform for the next part of The Emissary.
- Collect the Emissary's Letter from the ground on the right a short distance into the exit tunnel from the platform to advance The Emissary.
Your next main boss is Anna, The Bride Drowned in Tears, encountered at the start of Chapter 6: Punishment. That chapter takes place in the Cursed Hollow.