Where to Get the Musket
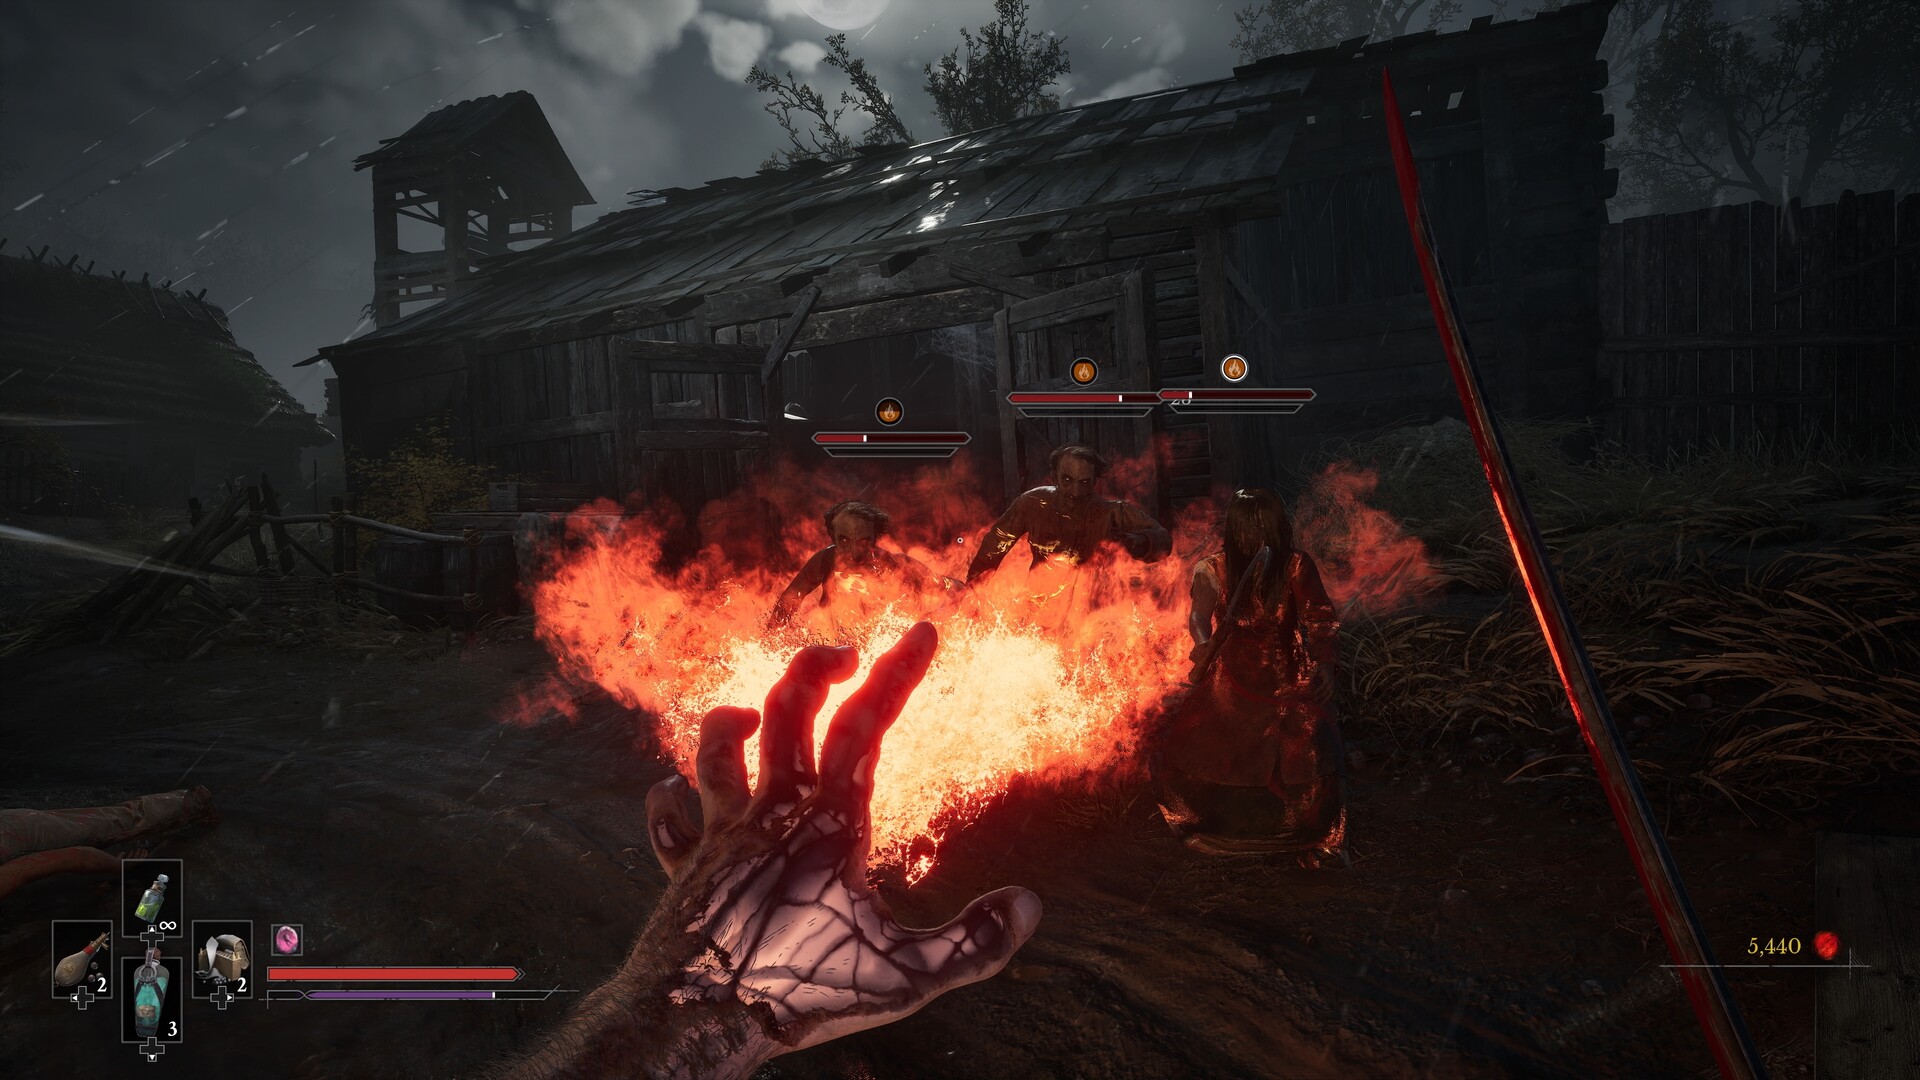
Get the Musket during Chapter 5: Crime in the Vale of Wrath: follow the route from Under the Bridge into the fort, defeat the dual-sword Volunteer for the Wagon Key, and collect it from the table inside the central wagon. Use it for precise shots at distant heads and weak points, while conserving the Special Cartridges it shares with the Blunderbuss.
Enter the Vale of Wrath
After waking at the Abandoned Church, speak with James to receive the Outward Pass Key. Cross the grapple point and open the door to the right of the entrance that led to the Caverns. The Musket pickup is required for story progression, so continue along the main route toward the fort.
Follow the Wagon Key Route
- Start at Vale of Wrath > Under the Bridge. Follow the path across the bridge and through the shack, then continue along the main route into the forest and toward the road covered in bodies.
- Continue down the road, passing the beehives on the right before the wooden walls, and proceed into the fort area.
- Defeat the Volunteer wielding dual swords. Collect the Wagon Key awarded for defeating this enemy.
- Use the Wagon Key to enter the wagon in the middle of the area. Pick up the Musket from the table inside.
Under the Bridge is your starting Lantern for this approach. Poisoned Camp is the nearest Lantern to the Musket pickup itself. Use those landmarks to distinguish the route into the fort from the area around the weapon.
Musket vs Pistol vs Blunderbuss
| Option | Damage and Use | How to Get It |
|---|---|---|
| Pistol | 30–60 damage, with full damage to 20 m and 5 loaded rounds. Useful for weak points and headshots. | Chapter 2: Regroup. Take it from the train car on the left during the bridge platforming section. |
| Blunderbuss | 150–350 damage per point-blank shot, with full damage to 3 m. Shares Special Cartridges with the Musket. | Chapter 3: Rendezvous, Fallen Village > Fields. Defeat the Volunteer and take it from the table in the carriage behind them. |
| Musket | 150 damage at level 1 and 300 at level 10, with full damage to 99 m. Suits deliberate long-range shooting. | Chapter 5: Crime. Get the Wagon Key from the dual-sword Volunteer, then collect it inside the central wagon. |
Choose the Musket when you have a clear view of a distant target. Keep the Pistol in mind for routine weak-point work, and save the Blunderbuss for close encounters. You can change weapons through the weapon wheel, so choose your firearm around the shot you need.
Ammunition, Reloading and Attack Upgrades
The Musket holds 1 loaded shot, reloads in 2.5 seconds and deals 20 Posture damage per hit. Its ammunition comes from the shared 6-round special pouch used by the Musket and Blunderbuss. Special Cartridges replenish 2 rounds and cost 300 Catalysts from James after Chapter 5.
Reload during a safe opening instead of trying to force another shot under pressure. Treat the special pouch as a shared budget when switching between the Musket and Blunderbuss. Aim carefully before firing, especially when a head or weak point is exposed.
Materials Needed to Upgrade the Musket
Upgrade the Musket at James's Iron Bench in the Abandoned Church. It uses Firearm Parts throughout its upgrade path. Reserve a Masterwork part for the Musket if it is the firearm you want to finish upgrading.
| Option | Quantity and Levels | How to Get It |
|---|---|---|
| Standard Firearm Parts | 6 total: 1 for level 2, 2 for level 3 and 3 for level 4. | Collect world pickups, open chests or buy from James's Iron Bench. |
| Superior Firearm Parts | 6 total: 1 for level 5, 2 for level 6 and 3 for level 7. | Collect world pickups, open chests or buy from James's Iron Bench. |
| Exquisite Firearm Parts | 3 total: 1 for level 8 and 2 for level 9. | Collect world pickups, open chests or buy from James's Iron Bench. |
| Masterwork Firearm Parts | 1 required for level 10. | Find them in world chests, including the routes below. Merchants do not sell them. |
Where to Find Masterwork Firearm Parts
| Lantern | Route to the Parts |
|---|---|
| City of Orphans > Sewers | After opening the door with the Sewers Key, take the left path, then turn left and swing across to the platform. Take the master key from the body to its left. Return to the Lantern and open the door beside it to reach the chest. |
| University > Main Hall | From the chandelier route near the Shield pickup, head through the poison hallway in the opposite direction. Ride the elevator down, cross the lower library and enter the lecture hall with hanging bodies. Open the chest at the back beneath the balcony. |
| The Outskirts > Harbour | With Shield Transmutation, follow The King of Smugglers through the poisonous fog and into the ship's hold. Defeat the miniboss for the Harbour Residence Key. Enter the residence, read Crusty Benek's Journal upstairs and loot the nearby chest. |
Ambers and Skills That Help the Musket
| Option | Effect | How to Get It |
|---|---|---|
| Lucky Shot | Chance to keep ammunition: 10%, 15% or 20% at ranks I, II or III. | At Caverns > Last Sunlight, follow the tunnel in the floor hole to the chest near the Grenadier. |
| Sleight of Hand | Increases reload and weapon-switch speed by 20%. | Tell the truth when finishing An Unheard Farewell in the Valley of Ashes. |
| Sixth Sense | Increases firearm damage during Perfect Dodges; dodging bullets briefly slows time. | At City of Orphans > Tribunal Square, climb the boxes left of the riverside burrow and follow the path around the building to the chest. |
| Headshot Damage | Each purchase adds 5% headshot damage and 1 special-ammunition capacity. | Purchase on the level-up board at a Lantern. |
| Ammo Restock | Each purchase adds 1 special round restocked at Lanterns and 1 special-ammunition capacity. | Purchase on the level-up board at a Lantern. |
| Ammunition Drop Chance | Each purchase increases ammunition drop chance by 5%. | Purchase on the level-up board at a Lantern. |
| Airborne Aiming | Slows time when aiming with firearms while airborne. | Unlock on the level-up board at a Lantern. |
| Firearms Damage | The repeatable upgrade adds 1% firearm damage per purchase. | Purchase at the end of the level-up board. |
Use the Musket for an Airborne Headshot
- Unlock Airborne Aiming, then travel to The Outskirts > Broken Bridge and follow the wall-jump and grapple route upward.
- Look for the soldier ahead during the second or third wall jump. Aim while airborne to slow time, then use the Musket to land the killing headshot.
- If the kill is not a headshot, return to the Lantern to respawn the enemy and try again. A successful killing headshot after a wall jump earns Aerial Annihilation.